I love tamarind. In Panama we make a drink with it, this isn’t exclusive to my little country, of course. We also process the pulp, mix it with brown sugar and make it into balls that are then dipped in sugar and sold. It is an incredibly good snack, just thinking about it is making my mouth water.
Speaking of tamarind balls…, when I had just moved to Houston, I had probably been there for a little over a year, I was yearning for Panamanian treats. I used to go to a little store called La Michoacana, it was (is) a primarily Mexican store, but it was the only place I could find ‘some’ of the products and produce I needed for home-cooking.
On one of my visits to the store, I noticed they were selling tamarind balls. Oh Joy!!! I was so excited. A little piece of home…, or so I thought. I got back in my car, heading home after picking up all the essentials, unwrapped the little ball and took a nice, healthy bite of it. . . I almost threw up! They like the tamarind balls in Mexico too, but like many of their treats, they add chili peppers to it. Totally ruining that fix for me, just be happy you weren’t in the car with me that day. I sounded like a sailor.
In any case, I’ve had some tamarind pulp sitting in the pantry for a few weeks now, planning to get to it. The wait is over. I decided to cook with it, instead of limiting it to sweeter applications. These pork spareribs turned out finger-licking OHMYGAWD good! I recommend you plan ahead for these so you can marinate the ribs as I did.
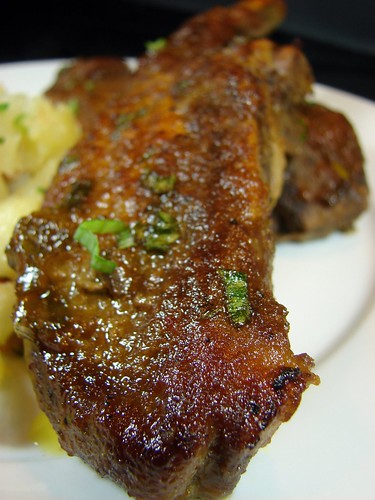
Day Before Prep:
Dilute the tamarind paste in water. I used about 1/2 cp of the pulp and diluted it in about 3 cps of hot water. Let it sit there for a bit to help the pulp separate from the seeds. Once the water has cooled, strain it and use a spoon to help remove more of the pulp from the seeds. Discard the seeds and reserve the concentrated juice.
For the marinade:
In a bowl or large ziploc bag combine
1 cp tamarind concentrate
2 tsp sea salt
1 tsp black pepper
1 tsp habanero paste (or habanero hot sauce)
2 tsp curry powder
1 tbsp honey
3 tbsp fresh ginger, slivered
2 tsp garlic paste (crushed garlic)
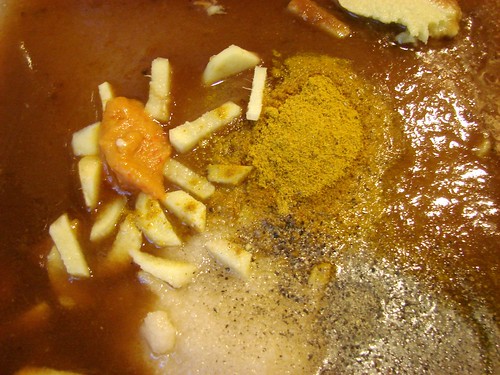
Mix all these ingredients well, then add the pork spareribs. For the recipe I used about 3 lbs. of bone-in pork spareribs. Make sure all the ribs are coated and refrigerate at least 12 hours, preferably overnight. Turn the ribs a couple of times to make sure they all soak up the marinade.
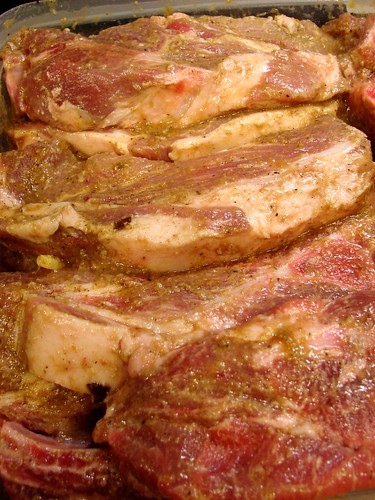
Day of – Cooking:
Preheat oven to 325°. Line a baking sheet with foil paper and lay out the ribs in a single layer. Make sure to remove any chunks of ginger you see. Cover with foil and bake the ribs for 1-1/2 hours.
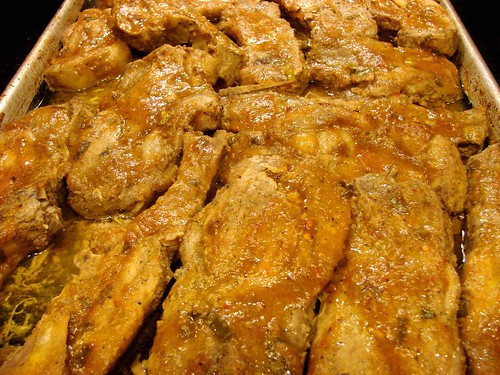
In the meantime, prepare the glaze. Once the ribs have cooked for the first 90 minutes, remove from the oven and drain and reserve the liquid. Return them to the oven uncovered.
Tamarind Glaze
2 cps tamarind concentrate (whatever is left, plus some water)
1 tbsp fresh ginger, crushed
1/3 cp brown sugar
2 cloves garlic, crushed (garlic paste)
1 tsp curry powder
1/4 cp green onions, diced (greens & whites)
1-1/2 tsp habanero paste or hot sauce
Cooking juices from the ribs
Sea salt & black pepper, to taste
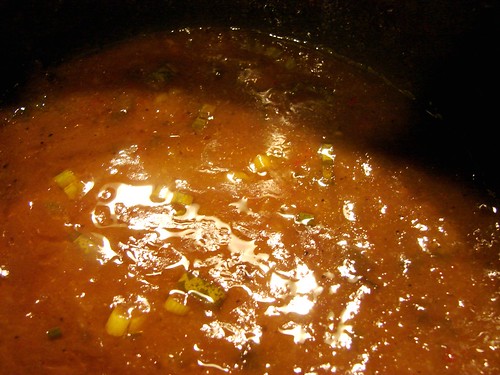
Heat a medium saucepan, add a bit of oil to coat the bottom, then add all the white pieces of the green onions and half of the greens. Allow to cook for 1 or 2 minutes, just long enough to soften, then add the rest of the ingredients, except for the salt.
Stir well and adjust the seasoning with salt, if necessary. Allow it to simmer over medium low heat, stirring every so often until it begins to thicken. Once the glaze thickens to the consistency of heavy cream, add the rest of the green onions and remove it from the heat. Set aside.
After the ribs have cooked through and begin to get tender (about 90 minutes), raise the oven’s temperature to 450° and generously brush the ribs with the glaze on one side. Return them to the oven and continue to cook for about 20 minutes. Flip the ribs, glaze the other side and return to the oven for another 20 minutes. Finally remove them from the oven, flip and glaze them once more, but just let them sit for 10-15 minutes before serving.
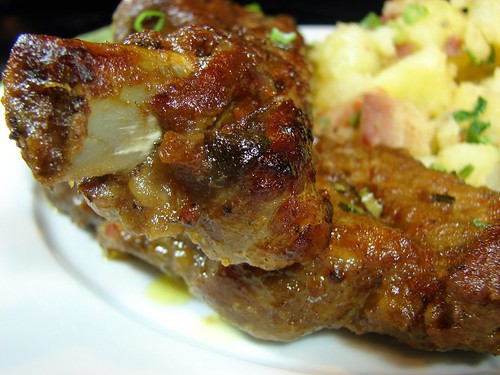
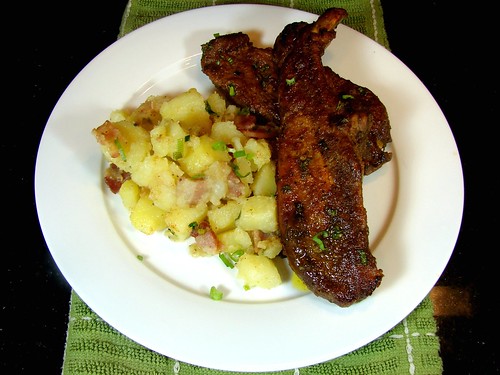
I sprinkled a bit more of finely chopped green onions just before serving and accompanied them with some Bacon Potatoes. They were tangy, sweet and sticky good!
Cookingly yours,
Anamaris
I can’t stop thinking about mangoes. I always crave them, lust after them, so when they’re plentiful at the market, I go bananas! (and that’s saying something seeing as how I dislike bananas). I’ve cooked with mango. I’ve moussed it, but I still want more mango ways. I started thinking about a pie, wondering how it would turn out. So I went for it. Secure in the fact that The Hubbz and B-Boy would dispose of it had it not met my high mango criteria.
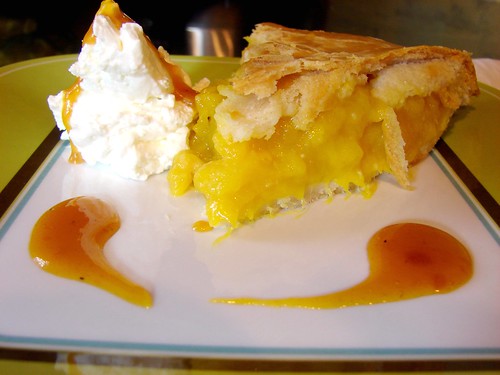
As luck would have it, they did eat it up. I only had a small morsel of it because I ended up with one of those tummy bugs. By the time I was better, the pie had moved on to a better life. Boys will be boys. But the piece I had was to die for.
Originally I thought about serving it with vanilla ice cream, but The Hubbz, being addicted to whipped cream, insisted on that alternative. The results were perfect. The pie is a bit robust, so the lightness of the cream made for the best combo ever.
Let’s talk crusts. Do you have a favorite, no fail recipe (easy)? I’ve tried the one by Melissa d’Arabian from Food Network and I find it to be delicious and super easy, but please share yours. I’m always looking for a better crust. And now, without further ado, I bring you some Mango Tango Pie!
Melissa d’Arabian Pie Crust
Yield: 2 (9-inch) pie crusts
1 cup butter (2 sticks), cubed and chilled
2 1/4 cups all-purpose flour
1 teaspoon salt
8 to 10 tablespoons ice water
Put the butter, flour, and salt in the food processor, and pulse lightly just until the mixture resembles wet sand. Add the water, 1 tablespoon at a time, pulsing briefly after each spoonful of water. Keep adding water until the dough just begins to gather into larger clumps.
Transfer equal amounts of the dough into 2 resealable plastic bags and pat each into a disk. Let rest in the refrigerator for at least 30 minutes.
For the filling:
4 cps of ripe mango, sliced against the grain
3 tbsp sugar
1 tbsp flour
Pinch of salt
Juice of 1/2 lime (or lemon)
2 tbsp chilled butter, cubed
1 egg, beaten
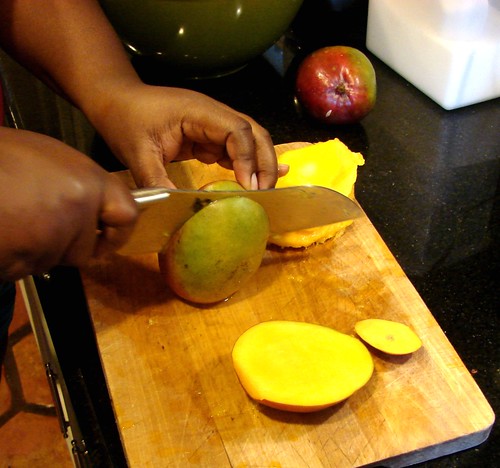
Prepare the mango: peel and slice. Because mango is a very fibrous fruit, make sure to slice it against its natural grain, this way you’ll avoid having a stringy filling.
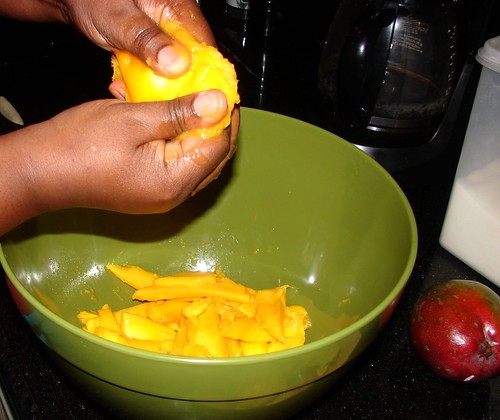
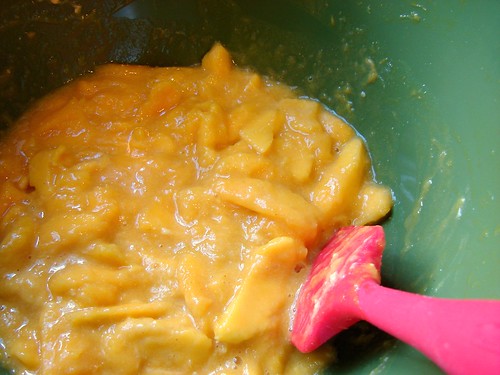
When the mango is ripe, it will be juicier. Once you have removed most of the meat, squeeze what’s left on the pit to extract some of the juice. Place the meat and juice in a medium-sized bowl and add the sugar, flour, lime, salt stirring it well, but with care.
Preheat oven to 325°. Remove 1 of the dough disks from the bag to a lightly floured surface. Using a rolling-pin, roll the dough out to a 10-inch round. Gently fit the rolled dough into a 9-inch pie pan and add the filling. It is best if it seems like you have too much filling. Dot it with the cubes of butter, before rolling out the 2nd disk of dough.
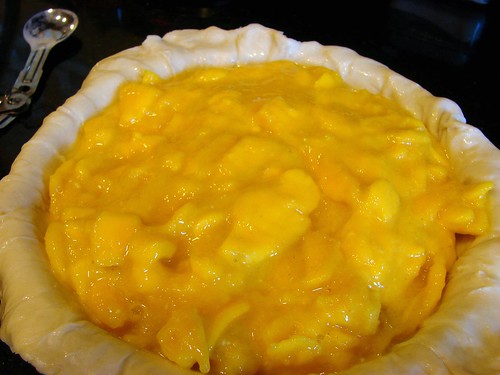
Brush the edges with the egg before placing the second crust over the top, then trim any excess dough and crimp the edges together. Lightly brush with the egg. Cut a few holes on the top, this will allow the steam to vent without any oozing filling along the sides.
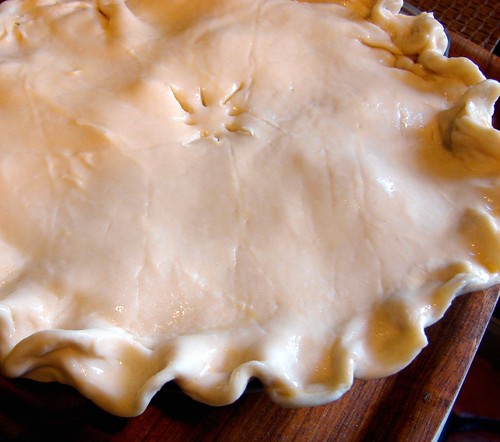
Bake for 40 to 50 minutes, checking it after 30 minutes or so. I like to cover the edges with foil paper after a while to keep them from browning too much.

Once golden brown, allow it to cool before serving.
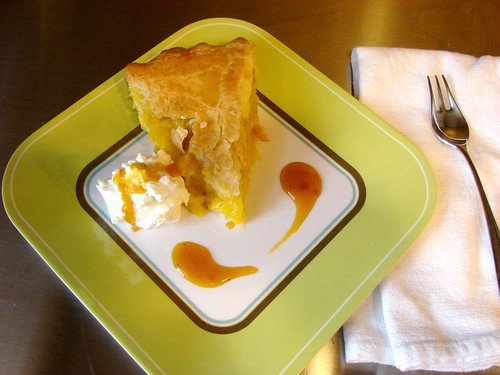
Cookingly yours,
Anamaris

And my heart is still in Panama, will probably always be. My love is in Houston and that is where I live. But, currently I’m still in Panama caring for my mom.
Time is limited right now, and rather than fail my promise to you, I decided to dig through my archives and bring attention to a few posts from the beginning days of this blog. These speak specifically to my cooking identity. If you’ve just found me, there’s a very good chance you’ve missed them. So here goes nothing.
This first one speaks to my cooking habits, those things I do as second nature as prepare a dish. Cooking Un-science.

The next one takes a look at my spice cabinet. I promise you it is much more exciting than my underwear drawer :). Spice Me Up, Scotty.

Finally, shortcuts. If you spend a good amount of time doing a task, you always develop shortcuts. Tricks of the trade. A way to minimize or expedite steps. Here are my Shortcuts.
That’s it. A little blast from the past.
Cookingly yours,
Anamaris

Well my friends, you know what they say about making plans, right? We make’em and somebody else laughs or something like that. I’m home again; For the good news, I’m happy to report that Panama is actually cooler than Houston is currently. Imagine that. But, the bad news are that my mami’s health continues to deteriorate and so I’ve come to check on her, spend some time with her, ‘boss her around’ as she has told my siblings and I. She also asked me to cook for her as she isn’t a fan of hospital food, and so I have been for the past 3 days.
I will continue to attempt updating posts on the schedule I had committed to, but I am asking for your patience. I’m having to manage preparing foods, spending most of the day with Mami at the hospital, sometimes nights too, such as last night. I will also attempt to incorporate some work in, blogging will have to be squeezed into a nook or cranny some days. On the other hand, being in Panama, I’ll have an excellent repertoire of Latin dishes! YAY!
Today I will share with you a soup Mami made for us growing up, it was her sneaky way of getting us to eat our vegetables. It is a chicken soup base she would cram full of any and all vegetables seasonally available. There was a wide range of goodies: carrots, chayote and acorn squash, potatoes, spinach—you get the picture. This is an easy and quick soup to make, cooking time is very low and the final rewards are wonderful.
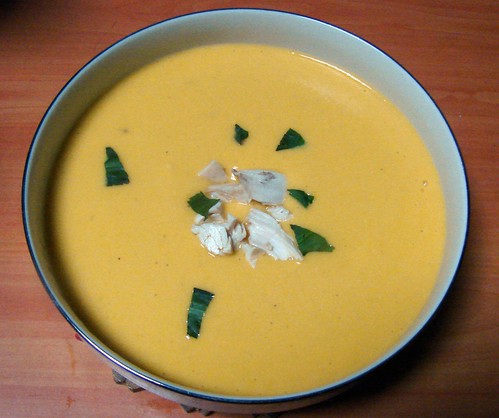
Mami’s Chicken & Veggie Soup (Cream)
Chicken pieces, with bone preferably
1 tbsp vegetable oil
Culantro or cilantro leaves
Chicken bouillon
Vegetables of choice
Sea salt & ground black pepper
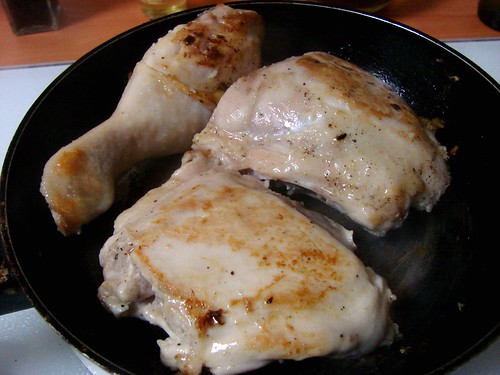
Season the chicken pieces with salt & pepper and chop all the vegetables into chunks. Heat a pot over high heat and add the oil. Brown the chicken in batches as necessary. Once all the chicken has been browned, remove the excess fat and add about ½ cp of water to help scrape the drippings off the bottom. Add the cilantro leaf and veggies, then add water to cover.
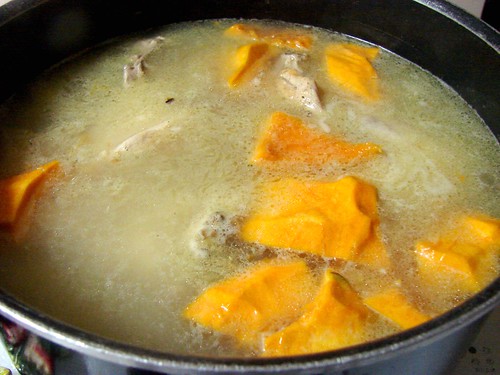
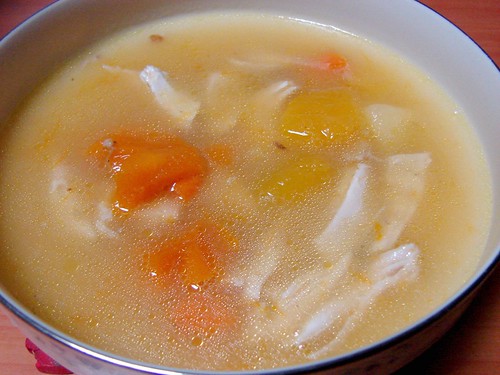
Once it comes to a boil, lower the temperature and allow it to simmer until everything is tender. To ensure we ate all the vegetables, my mami used to puree it all. Remove the chicken meat from the bone, then place the stock, chicken and veggies in the blender or food processor. The beauty of this extra step is that you end up with a thick, flavorful chicken cream without the added calories of heavy cream. My dad, however, doesn’t care for the cream style soups, so he got it straight out of the pot. Serve with white rice.
Cookingly yours,
Anamaris
I do love tomatoes. In Panama, my sister and I used to eat them like fruit. I remember how flavorful they are when picked just right. Slightly tart and sweet, always juicy. YUM! I love the different varieties: cherry, grape, here recently I’ve been introduced to raisin tomatoes. Tiny little things, filled with flavor. I haven’t tried the infamous heirloom tomatoes yet, what can you tell me about them?
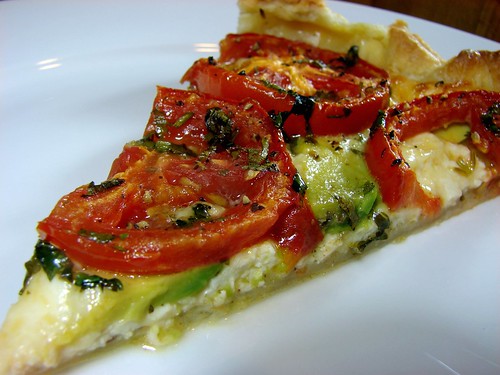
Moving on. My previous post was for a tart I saw Chuck Hughes prepare, today I’m bringing you a variation on that tart. As much as I liked the original, I kept thinking of other ways to enjoy it. I happened to have some avocados ready to go, and they were the primary source of inspiration. This time the flavors come a bit further South of the border. I also switched to puff pastry instead of phyllo sheets.
Tomato & Avocado Tart
1 puff pastry sheet, thawed
1 tbsp Dijon mustard
1/2 cp queso fresco, shredded
3/4 cp queso Oaxaca or Monterrey Jack, shredded
1 avocado, peeled & thinly sliced
4-5 Roma tomatoes (or whatever you have around)
Cilantro leaves, torn
Sea salt & black pepper
Preheat oven to 400°. Use a rolling pin to stretch out the pastry, just enough to make sure it covers the bottom of the pan you will bake it in. I used a tart pan, but a baking sheet would also work. Place the pastry sheet on the bottom of the pan, pulling some of the dough up the sides to create an edge.
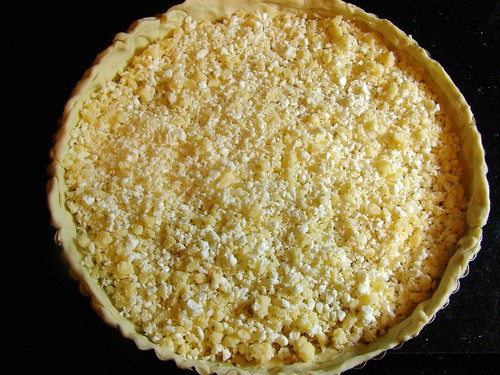
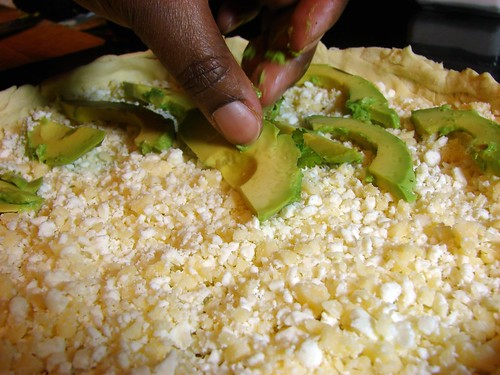
Brush on the mustard, then top evenly with the cheese, make sure you cover th entire surface. Next lay the avocado slices across the bottom.
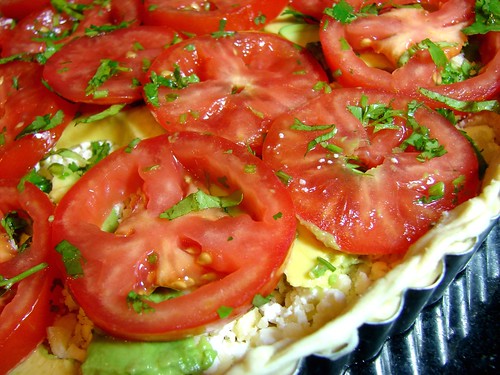
Slice the tomatoes to about 1/4-inch thick and top the avocado with the tomato slices. You can overlap them, if you’d like. Tear a few cilantro leaves and spread them around. Season with coarse salt and freshly ground pepper.
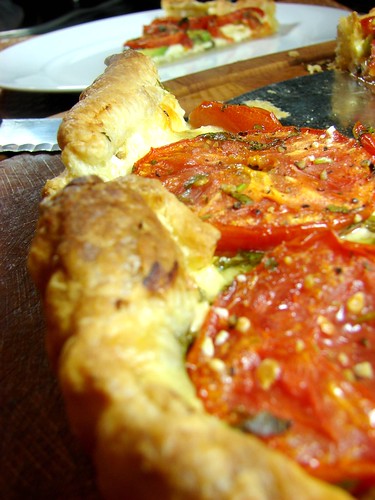
Bake for 20-30 minutes until the puff pastry is nicely golden brown. Allow it to cool for just a few minutes before serving.
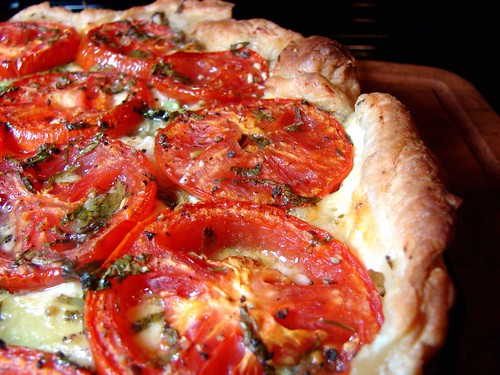
Oh yeah, baby.
Cookingly yours,
Anamaris
I do. I really, really do. It’s like meeting new friends and catching up with old ones. I know it is still part of the Food Network, but I like the variety of chefs on the lineup. I hope you’re watching it too, there’s some really good stuff there.
I already shared a post based on a dish from French Food at Home. This post follows a dish from another of my new favorite chefs, Chuck Hughes. His show is called Chuck’s Day Off and the camera follows him around his restaurant kitchen as he dishes out some simply delicious food for friends and family on his day off.
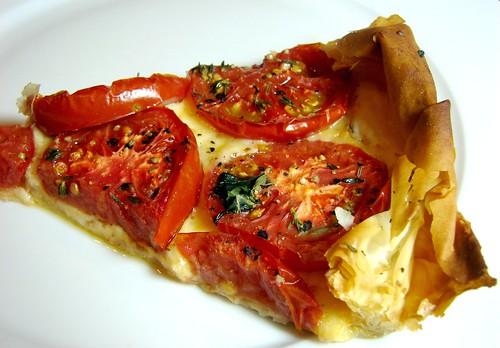
One of the recent episodes showed him cooking for his family, he recreated the dishes his mom & aunts cooked as he was growing up. This tart caught my eye and heart immediately. It was pretty. It looked fancy. AND it was a breeze to make. And let me tell you, it tasted fantabulous!
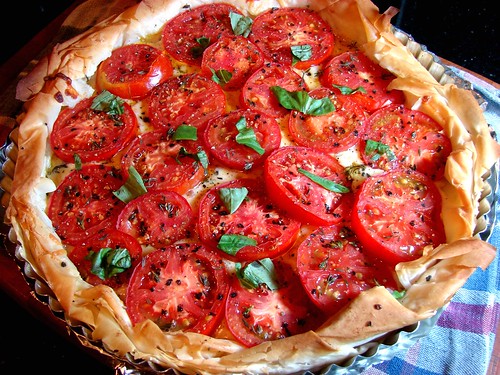
Chuck’s Tomato & Cheese Tart
from Chuck’s Day Off
7 phyllo sheets, thawed
1/4 cp melted butter
1 tbsp Dijon mustard
1-1/4 cps grated cheese (he recommends Emmenthal)
3 large ripe tomatoes, sliced 1/4-inch thick
Coarse salt
Freshly ground black pepper
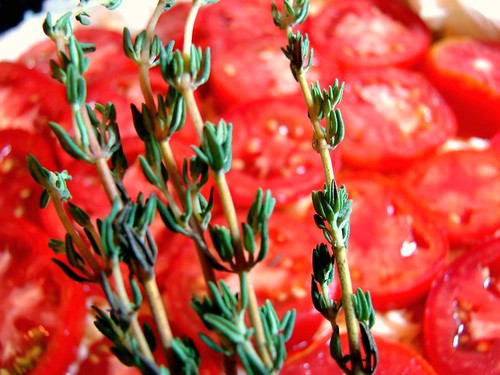
1 tbsp fresh thyme leaves
12 fresh basil leaves, for garnish
Preheat oven to 400°. Phyllo dough is paper thin and will dry and crack quickly. Once you have removed it from the packaging, place the sheets you will use between lightly damp towels.
On a tart pan or baking sheet, place 1 sheet phyllo and brush with melted butter, repeat, stacking them on top of each other as you build your pie crust. You may want to stagger the sheets a little bit to ensure that the baking sheet is well covered allowing extra pastry to create an edge.
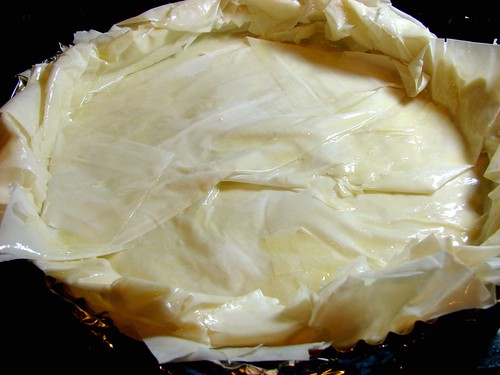
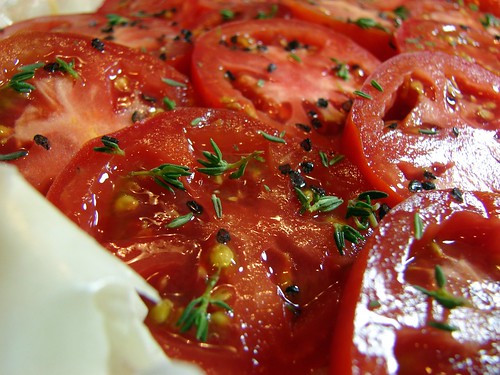
On the top layer, brush on the mustard. Sprinkle the cheese evenly over the pastry to ensure even coverage. Lay the tomato slices generously, all over, overlapping, as needed. Season with coarse salt and ground black pepper. Sprinkle the thyme leaves on top.
Bake in the oven until the pastry is crisped and browned at the edges, about 25 minutes.
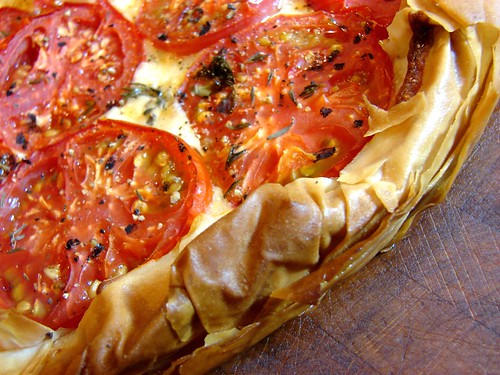
Add another sprinkling of coarse salt and garnish with fresh basil leaves. You can serve it hot, warm, or at room temperature.
Cookingly yours,
Anamaris
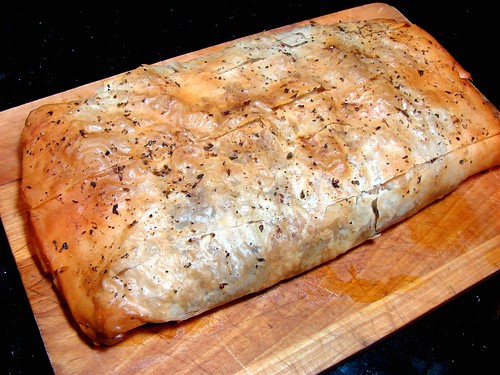
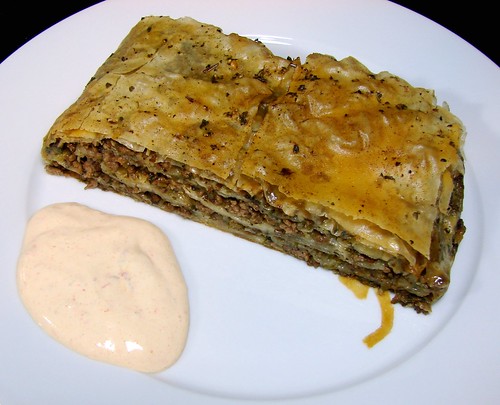
Where should I begin. I don’t know what this one is. I know how it tastes. Gooooodlicous! Yep. It’s a bit of this and that. Let me break it down. The truth is, I was trying to imitate a Burek, which is a Serbian-Croatian meat pie of sorts. Cafe Pita is a little place near us that serves this delicious dish. It is a mess of buttery flaky delicious mess.
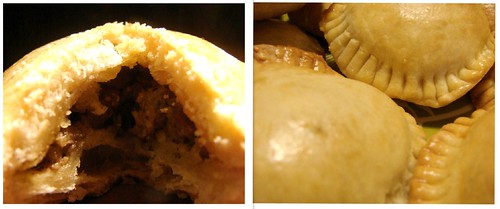
The other bit came from Panamanian empanadas–the meat filling. There’s just something about the seasonings used for our empanadas that is incredibly comforting. You will notice that the filling uses recao verde as a base.

Cafe Pita uses an interesting dough for their burek; one of these days I’ll attempt it. For now, phyllo dough will be the overachiever understudy. And I’ll tell you, it left very little to be desired. Ready? Let’s get to it!

El Burek-o
1-1/2 lbs ground beef
1 large yellow onion
1/2 green bell pepper
1/4 cp each: green onions, parsley and cilantro
2 cloves garlic
2 tsps Jugo Maggi or Worcestershire
1/2 tsp oregano flakes
1 tsp habanero paste or 1 tbsp habanero hot sauce
2 tbsp flour
1-1/2 cps beef broth
Phyllo sheets
Melted butter
Sea salt & ground black pepper
Chop all the aromatics: onion, bell pepper, green onions, parsley, cilantro and garlic. You can do this manually or with a food processor. Heat a large skillet over medium high heat and add the beef, breaking it apart into a crumble. Add the Maggi, oregano and a shake of salt and pepper, continue stirring and crumbling the beef. This process will remove all moisture from the ground beef, make sure to continue to stir to keep it from burning and sticking to the pot.
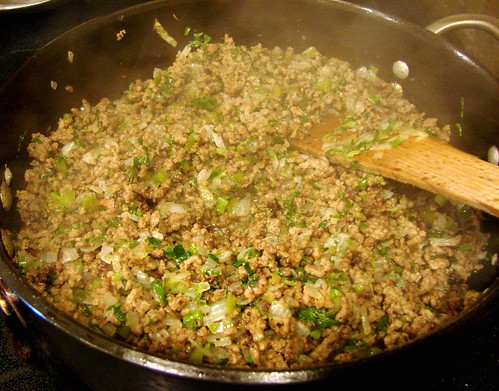
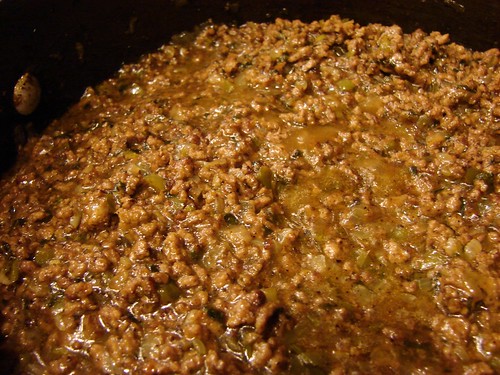
Once the moisture evaporates and all that is left is the fat from the beef, add the chopped recao. Continue stirring until the aromatics soften and the beef begins to brown. Add the habanero paste, once that has been fully incorporated add the flour. Make sure to stir in the flour and cook this for a few minutes to ensure you don’t end up with beef that tastes like flour. Add the broth and adjust the seasoning as necessary. Make sure to scrape all the good bits off the bottom. Allow it to come to a boil, lower the temperature to medium-low, cover and simmer for another 20-30 minutes.
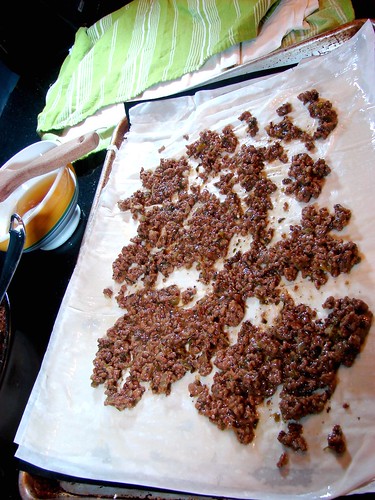
While that cools, prepare the phyllo sheets. Preheat the oven to 400°. Line a baking sheet with silpat or parchment paper and lay the first sheet of phyllo. Brush it with butter, repeat. I laid 3-4 sheets before I started to add the beef filling. Butter in between each sheet. Spread a spoonful of the beef filling, not too much, you’ll be layering this a bit. Try to keep a 1-inch edge that has no filling.
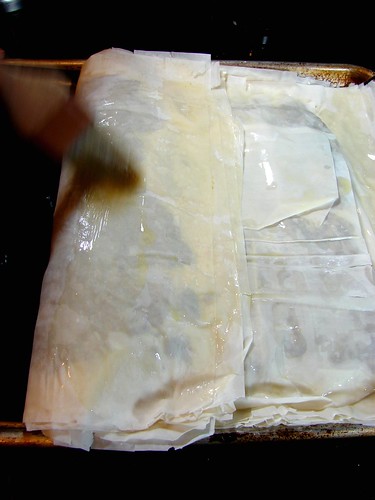
Top with another 3 sheets of phyllo. Repeat. The last layer would be phyllo. Use the silpat/parchment paper to help you fold the sides over, the way you would fold a letter to place in an envelope. Make sure to butter each fold.
Flip it so the seam is at the bottom. Brush the top with butter, sprinkle with salt, pepper and smoked paprika.
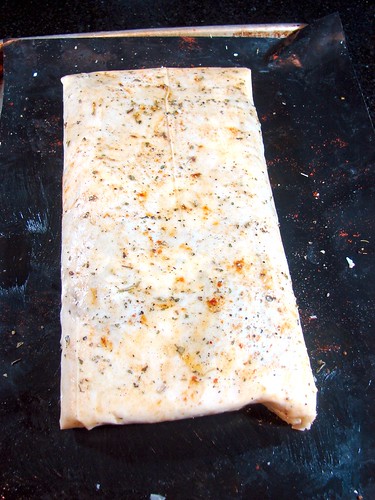
Bake for 20 to 30 minutes, depending on your oven. Once it is golden brown and looks flaky, remove it from the oven. Allow it to cool for at least 10 minutes before slicing. That’s it!
I did make a bit of a dipping sauce by combining 1 part mayo to 2 parts crema fresca or sour cream and a bit of habanero hot sauce.
Cookingly yours,
Anamaris
I know. Not a novel combination, but sure it is a winning one! This is a pretty universal dish, I guess. I can’t claim as Latin cuisine, but it is something I grew up eating. My mom would often make this and add beaten eggs just before they were done. The result was a sorta scrambled Spanish tortilla.
This is another no-recipe side dish, just an idea to think of next time you’re serving potatoes.
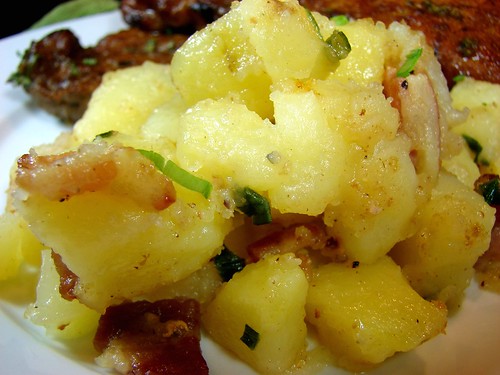
Bacon Potatoes
Potatoes, peeled & cubed
Bacon, chopped
Green onions, chopped
Butter (optional)
Sea salt
Freshly ground black pepper
After cubing the peeled potatoes, toss them in a pot filled with cool water and salted. Bring them to a boil and cook until tender, but not completely soft–they will finish cooking later. Drain the water and set the potatoes aside.
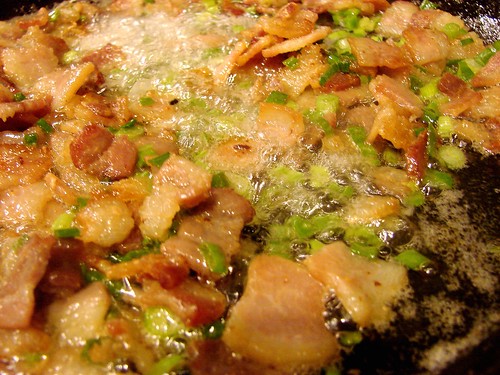
While the potatoes boil, heat a skillet (large enough to hold the potatoes) and render the fat from the bacon. Cook the bacon until it begins to turn golden but before it is completely crisp. Add the green onions and stir to make sure they don’t brown too much.
Add the potatoes to the bacon & onion mixture, tossing the potatoes to coat in the bacon fat. If the potatoes seem too dry, add a bit of butter to fully coat them. Season with salt & pepper and serve!
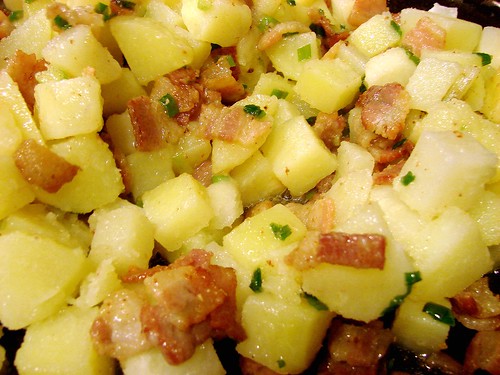
The Hubbz and BBoy, being men and lovers of excess, decided that these were just a step away from being baked potatoes. So they topped them with crema fresca (creme fraiche or you could use sour cream) and shredded cheese. And you know what? They DID taste just like a baked potato and it was soooo good! Also, any leftovers are awesome for tacos, whether you add eggs or beans or neither. YUM!
Cookingly yours,
Anamaris
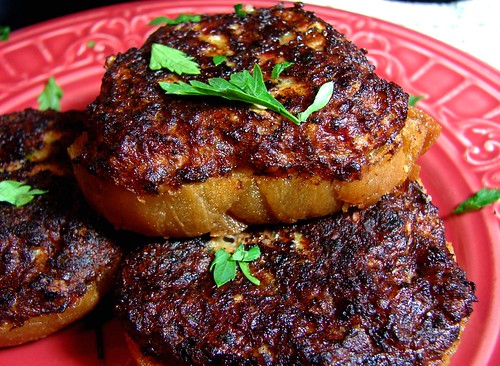
A few months ago I tried my hand at these yummy shrimp toasts, they turned out delicious. A few days ago I had some leftover shrimp and bread, so I thought I’d make them again. This time I went for a Latin twist, as promised. There are a couple of things I should point out about the ingredients.
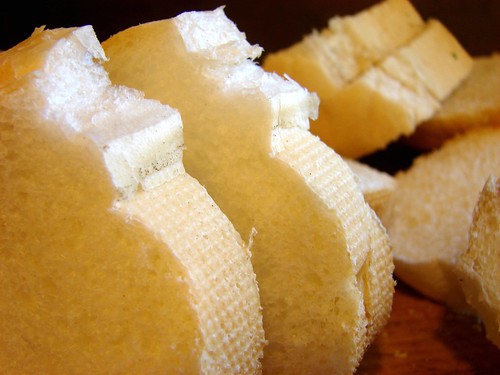
Bread last time I used sliced white bread, crusts removed and cut into triangles. This time I had a few bolillos (French rolls) laying about, so I just sliced those into rounds and called it a day. Also, it is best to have day old bread.
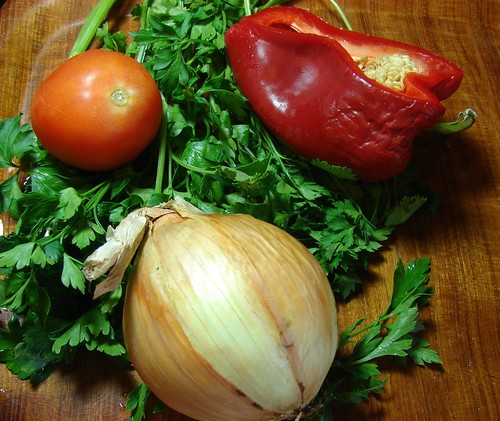
Recao: In Panama, you can go to the little corner store and ask the store keeper for as much recao as you need, it is usually sold in 25 cents increments. I know. Crazy. Anyway, to us, Panamanians, recao is a combination of aromatics used as the base for most dishes we cook. These aromatics will be diced, sliced, chopped or pureed depending on your recipe needs.
Recao verde has garlic, onion, green bell pepper, parsley, green onions and culantro.

Then there’s recao rojo, which consists of onion, garlic, red bell pepper, culantro and tomato. This is the one used for this recipe.
Shrimp Tostadas
3/4 cp shrimp, peeled & deveined
1/2 cp onion
1/4 cp red bell pepper
2 tbsp each cilantro and parsley
1 clove garlic, minced
2 tsp hot sauce (preferably habanero based)
2 tbsp butter, softened
2 egg whites
2 tbsp cornstarch
12-15 bread slices
Oil for frying
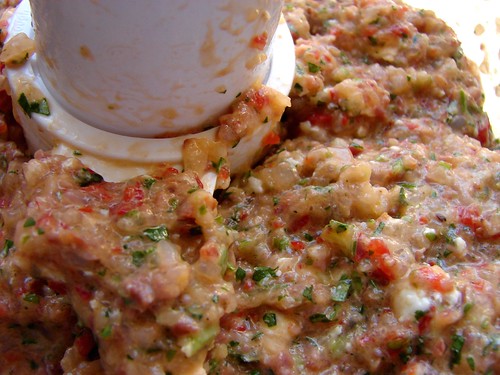
Place all the aromatics into a food processor and chop until fine. Then add the shrimp and pulse until the shrimp is pretty fine. Change the blade to a dough hook or transfer to a mixing bowl and add the hot sauce, eggs, cornstarch and butter. Mix well.
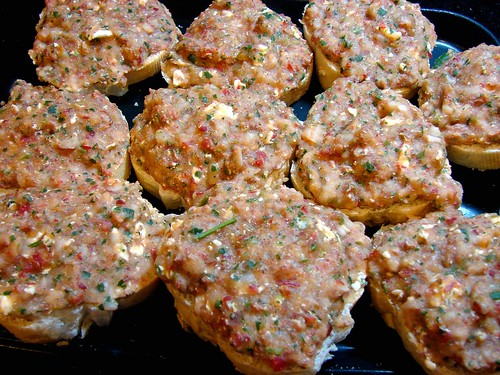
Slice the bread, if necessary, to about 1/4 inch thickness. Top each slice of bread with 1-2 tbsp of the shrimp mixture. Keep them refrigerated until you’re ready to fry them.
Use a medium-sized skillet and add enough oil to come up to about 1-inch and heat over medium heat. You want the oil to be hot enough to sizzle, but make sure it is not too hot or it will brown the outside before cooking the inside.
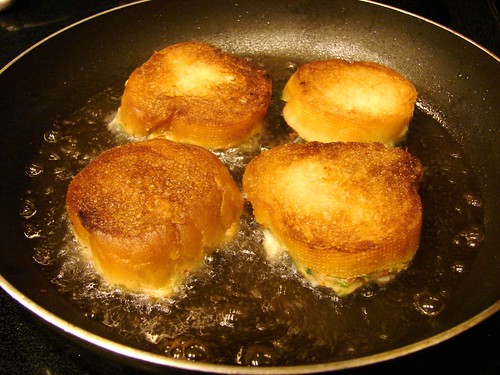
Brown the toast side first. Don’t stray away too far, the bread will brown rather quickly. Flip to the side with the filling and allow it to fry for a few minutes. Remove from the oil and allow it to drain before serving.
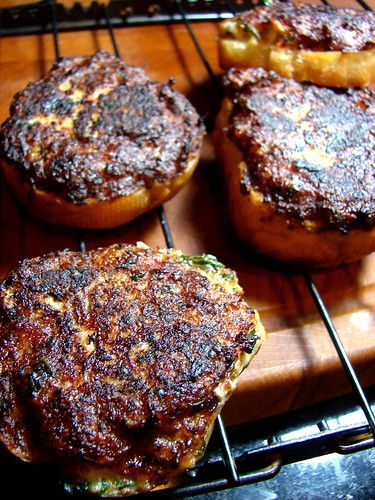
These make for a great snack and freeze well if you don’t want to cook them all at once. Serve warm and enjoy!
Cookingly yours,
Anamaris
OK, we may be off to a bad start. I know I said I was going to focus on Latin-Caribbean cuisine, and I will. Just not this time  Lo siento. I thought about typing the post in Spanish, but then you would either a) have to deal with some unreliable online translation tool, b) think I’d lost my mind and move on or c) not get to enjoy this awesome salad. My hope is that this salad will make up for my transgressions.
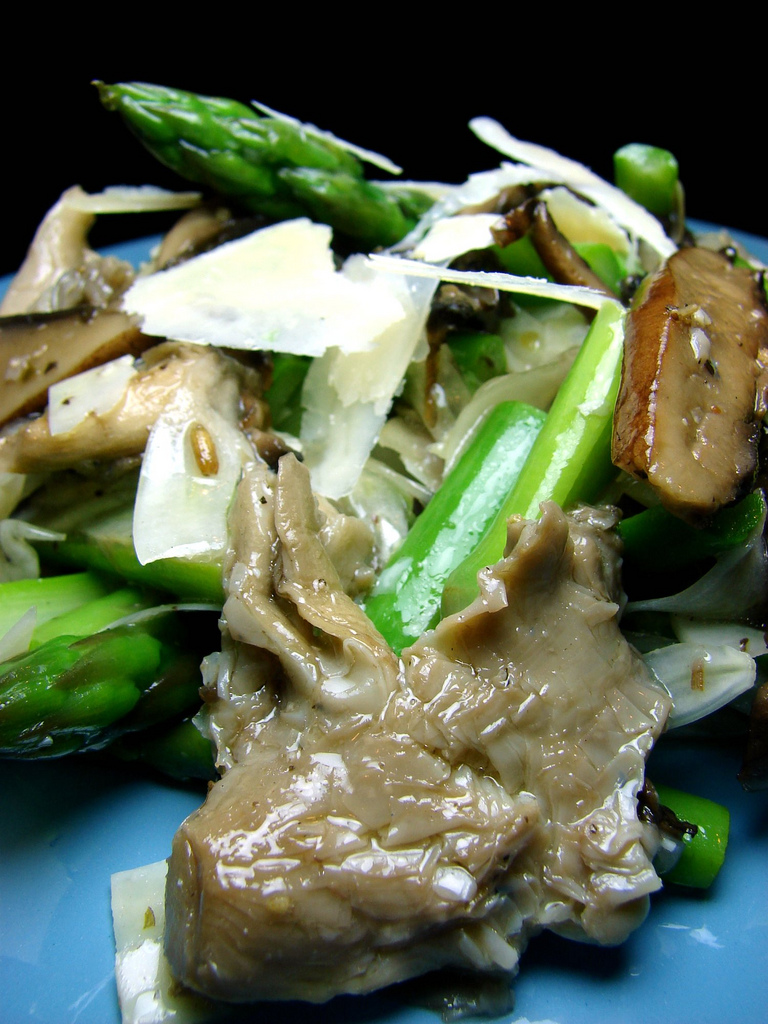
Let me start by saying…, I’m NOT a salad gal. Hey, I’m a Latina, we don’t eat salads. Well, that ‘s not true. We do. I don’t. I try, but I’m usually disinterested. Every now and then I do find a winner. Like Houston’s Cobb Salad. Or the salads at sushi restaurants with that awesome ginger or peanut dressing. But those are not the salads I want to talk to you about. This salad is unusual. It is fresh. It is satisfyingly meaty and meatless. This is a Poached Mushroom and Asparagus Salad.
I’ve been hearing about poaching meats and vegetables in olive oil. It seems to be one of the ‘it’ cooking methods at the posh places these days. Poaching is generally done using a well-flavored broth, sometimes wine, that is kept at a consistently low temperature. The idea is to slowly cook the ingredients without ever bringing them to a boil.
I used a medium-sized skillet and added about 3 cps of extra virgin olive oil. Don’t fret, you will save the oil and reuse it. Because the oil is never very hot, you don’t burn it, which allows you to use it time and again. There really isn’t a recipe here, but here’s what I did.
Poached Mushroom and Asparagus Salad
Wild mushrooms–I used portabella and oyster
3 cps extra virgin olive oil (approx)
Asparagus spears, trimmed
Fresh fennel, julienned
Sea salt
Fresh ground pepper
Your favorite vinaigrette
Parmesan or Manchego slivers
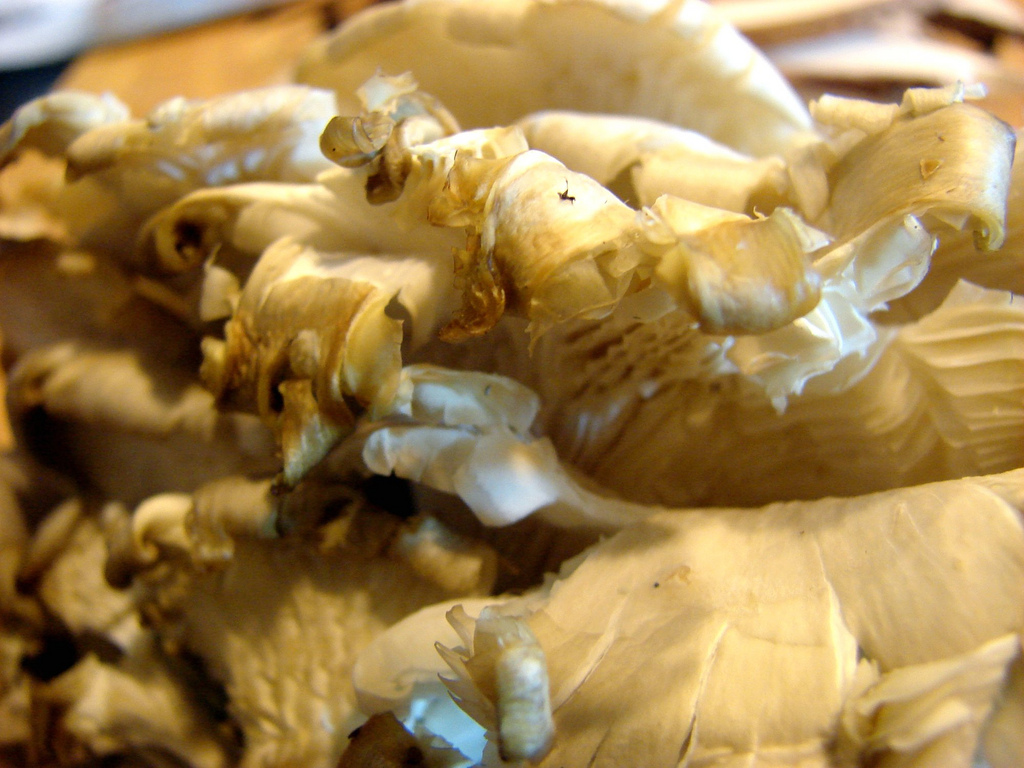
To poach the mushrooms: clean and slice the mushrooms. If you are using portabellas, make sure you remove the brown gills. Otherwise your oil will be dark brown. While you get the mushrooms ready, put the oil in the skillet and turn the heat as low as your stove will go. The oil’s temp should be between 160–185°.
Once the oil comes to temperature, add the mushrooms. It is important that they be completely submerged in the oil. You’ll know the temperature is right if you see little bubbles slowly forming around the mushrooms. Poach the mushrooms for about 15 minutes or until tender. Once the mushrooms have softened, remove them from the oil and drain. Allow them to cool. Meanwhile, prepare the rest of the ingredients.
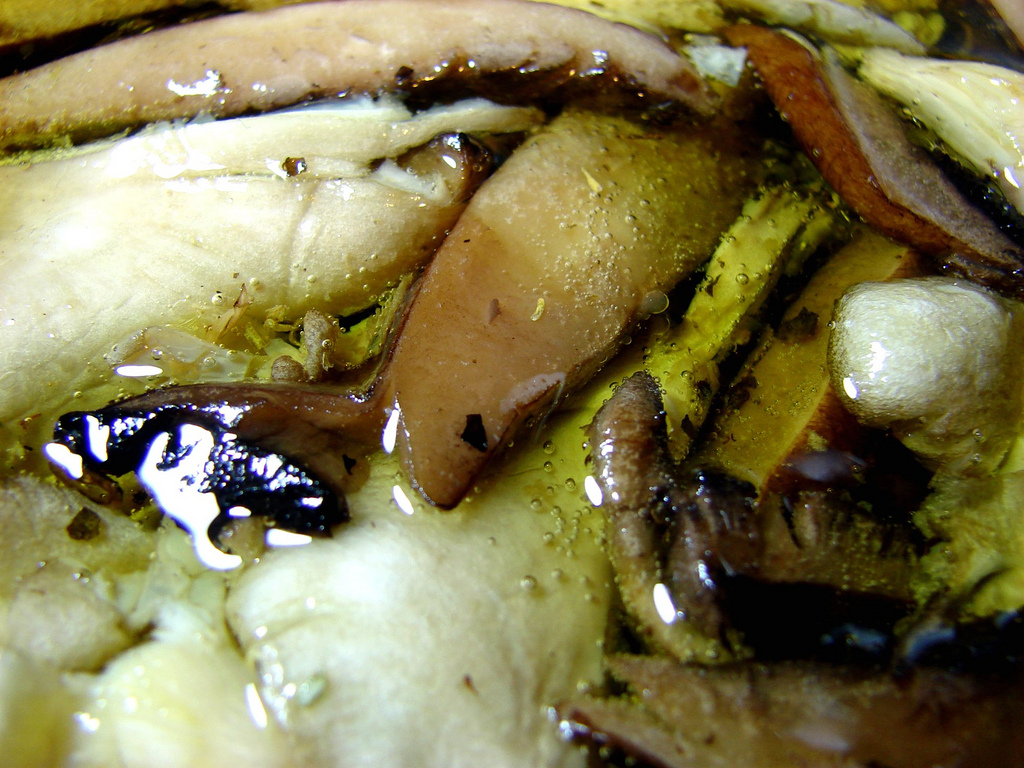
Blanch the asparagus: bring a pot of water to a boil. Add salt, then drop the asparagus in the boiling water. Allow them to cook for about 3 minutes. Have a bowl of iced water waiting , remove the asparagus and dunk them in the icy water. Allow them to stay in the cold water for at least 3 minutes. Remove and drain.

In a bowl combine the mushrooms, fennel, asparagus and vinaigrette–tossing to coat all ingredients. I used a store-bought white balsamic vinaigrette. Add some of the cheese slivers and toss. Top with more cheese when served.
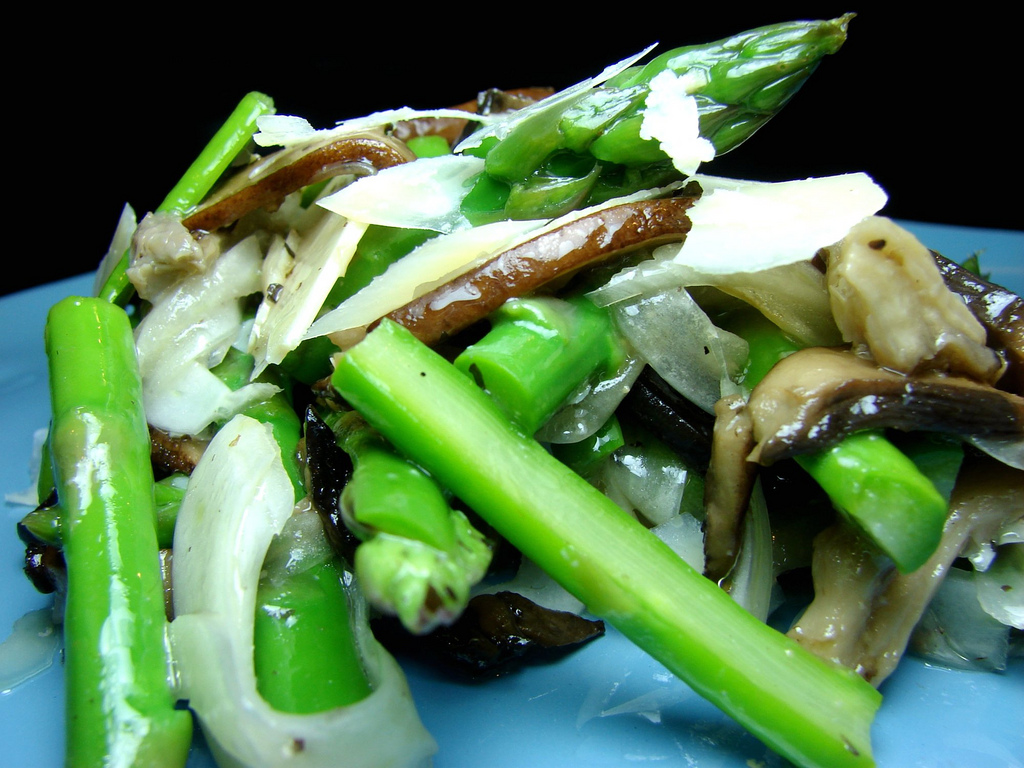
You may think using olive oil as your poaching liquid would result in an extremely oily dish, but it doesn’t. What you end up with is a delicately flavorful bunch of mushrooms. To preserve the oil: If you notice any bits or drippings, allow it to cook longer without the mushrooms. Then strain through a coffee filter and save in a glass or heavy plastic container in your refrigerator. Bring it to room temperature before the next use.
I promise you, you will make this one again. And again. Enjoy!
Cookingly yours,
Anamaris


