I like bagels. I won’t say I love them, because it’s not that intense between us. I don’t eat a lot of bagels because I have a tough time finding bagels that balance chewiness with the necessary crust. But when the Mellow Bakers added bagels to April’s lineup, I knew I was gonna try them.
Yes, I’m behind on this submission. I’ve been busy traveling. The good news is, this is a relaxed baking group, hence the name, Mellow Bakers. I had to order things I’d never heard of such as diastatic malt powder and syrup. I also got some of that coveted high gluten flour because I’m pretending to be serious about this bread making business.
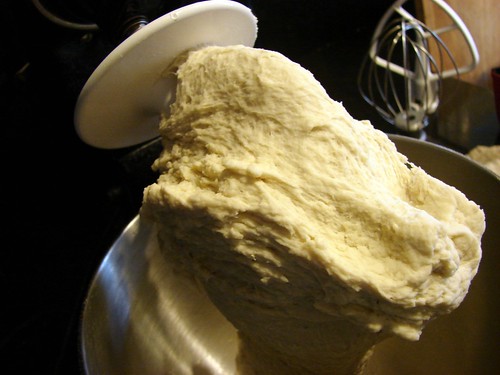
I started the dough yesterday and was immediately struck by the scent of yeast. I’ve decided it is one of my favorite smells now. Slightly sweet, with an underlying pungency. Filled with the promise of glorious bread. Yep, I’m digging the breading.
I followed most of Mr. Hamelman’s instructions for the home batch, but added a bit more salt because I use sea salt instead of the regular stuff and about 1-2 tbsps more water to keep the dough pliable. I also allowed the dough to ferment a bit longer before shaping, an extra hour to be exact.
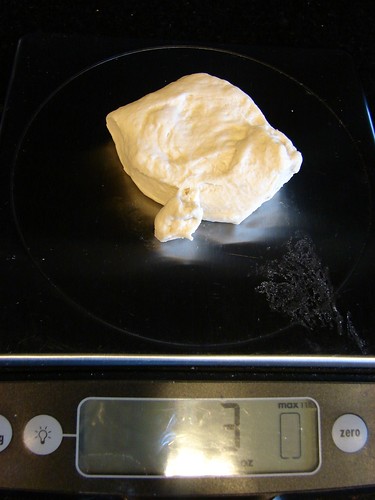
This is the first time I weighed dough before shaping. Hamelman suggested making each bagel with 4 ozs of dough, but I wanted mine just slightly smaller, so I weighed to 3ozs and ended up with 22 bagels.
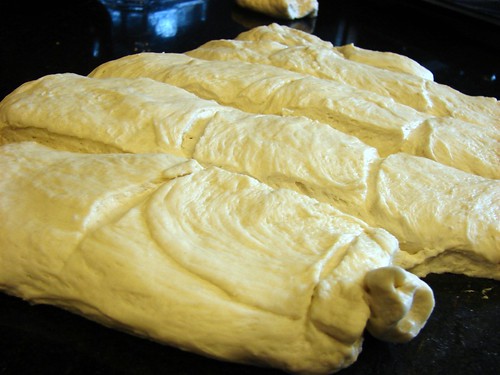
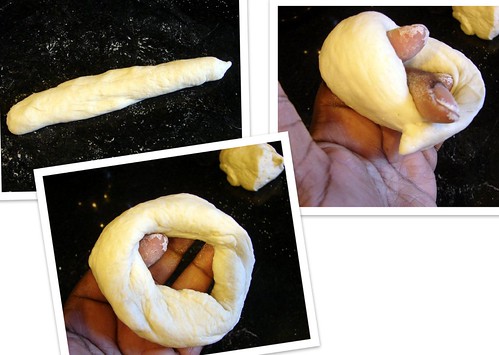
When it came time to shape them, I tried both methods: rolling and poking.
Rolling and wrapping: roll each piece of dough to about 6-8 inches long, then wrap it around the broadest part of your hand slightly overlapping the ends. Roll your hand back and forth on the counter to seal the ends together.
Poking: shape the dough pieces into tight balls, poke a hole in the center with your thumb. From the center gently pull until you have a nice size hole in the center.
Place the finished bagels on a sheet pan that has been sprinkled with cornmeal. Cover with plastic wrap, they’re now ready to be stashed in the fridge overnight or at least for 6 hours.
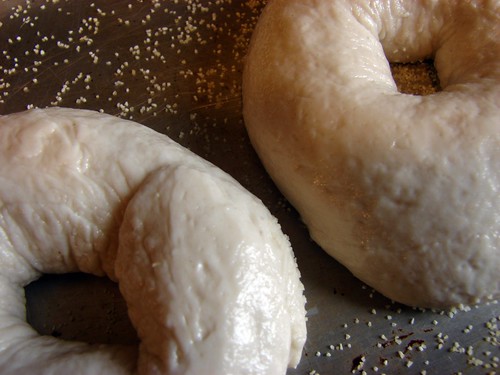
The next day when you’re ready to bake, preheat the oven. The book suggested taking it to 500°F, but I’ve noticed that when I heat the oven that high, it browns my breads too quickly, so I went for 475° and placed my baking stone on the first rack.
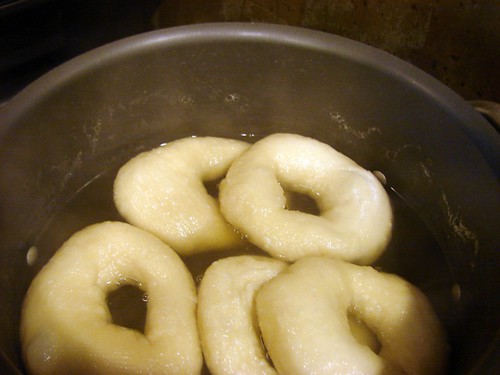
First step requires the bagels to be boiled. I added malt syrup to a large stockpan filled with water and brought it to a boil. I used enough syrup to make the water look like strong tea. The idea behind this step is to reactivate the yeast since it has been refrigerated for a while. The other benefit of this step is to gelatinize the starch on the surface so you end up with beautifully chewy bagels.
I had the benefit of reading the comments from other bakers before I began my bagel process, so I learned from some of their challenges and took some precautions or made some changes. The first change was to pull the bagels out of the fridge and allow them to slowly come to room temperature. This wasn’t intentional, but I noticed that the bagels I boiled & baked last were a lot puffier than the first batch. Since I didn’t have a bagel board, I boiled & baked in batches of 5-7 bagels at a time.

Also, instead of leaving them in the water for 45 seconds as suggested in the book, I allowed them to stay in for a few minutes until *I* noticed that they were swelling. Then I removed from the water and placed them in an ice bath as instructed for 3 or 4 minutes. Transfer them to a baking sheet/stone that has been sprinkled with cornmeal.
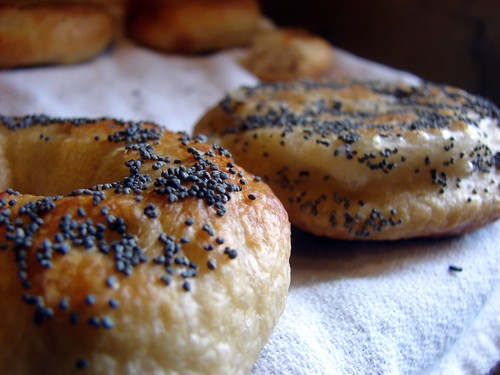
The first batch I made was plain, no toppings. For the second batch, I followed the same steps: boiling, icing, draining, but before placing them on the stone press one side into a plate of sesame seeds, poppy seeds, onion flakes, or seeds of your choice, then put them on the stone or sheet pan.
The instructions were to put the seeded side down and then flip the bagels halfway through baking. As a matter of fact, the instructions are to flip them regardless of topping or not. I didn’t like the way the looked after flipping, they seemed flat and distorted. I’m probably doing something wrong, but I liked them best left alone. I baked the topped ones with the topping on top and simply rotated the stone at 5 minute intervals. They baked for a total of 15 minutes or so.
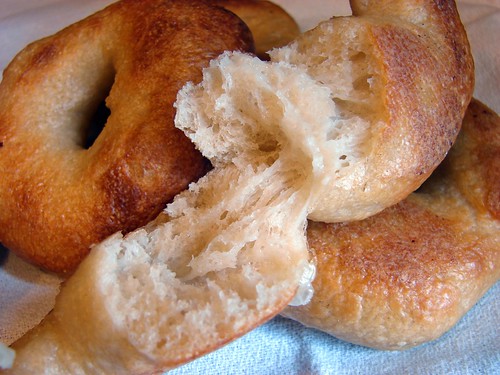
In the end, the bagels were chewy and crusty, just the way I like them. On the last batch, I noticed that while boiling, some of the surface gets very thin–gelatinous and it can burst allowing water to hide inside. In those cases, the center was a bit doughy. I caught on the very last batch and made sure to drain that water out before putting the bagel on the stone.
I’m so glad I tried these. I’m a happy bagel camper and if you’d like to check out the bagels by some of my other mellow cohorts, follow this link to the bagel gallery.
Cookingly yours,
Anamaris


Comments ( 6 )
This looks fantastic. Thank God I live in New York where I have a few shops that make their bagels on the premises. Hot and crusty...everything bagel, onion, salt, garlic, poppy, etc.......
This would have been awesome for breakfast. Or lunch.
I am impressed with all you go through. I love the smell of yeast bread too. Your bagels look scrumptious. Oh man, NY bagels with lox and cream cheese.
fantastic, I love bagels especially poppy seeded with a swipe of cream cheese and a slab of smoked lox! No, I'm not Jewish just love their food! Oh WOW I just noticed the previous post... I see another lox lover. Lots of delis in Philadelphia too :)
YUMM :)
Thnaks for your comment on my blog, BFF. You are funny as well as talented with cooking and photography. What else don't we know about you?