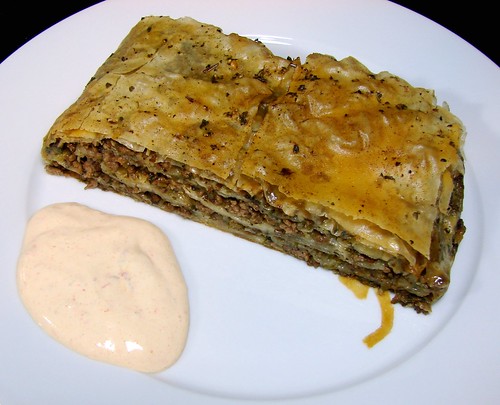
Where should I begin. I don’t know what this one is. I know how it tastes. Gooooodlicous! Yep. It’s a bit of this and that. Let me break it down. The truth is, I was trying to imitate a Burek, which is a Serbian-Croatian meat pie of sorts. Cafe Pita is a little place near us that serves this delicious dish. It is a mess of buttery flaky delicious mess.
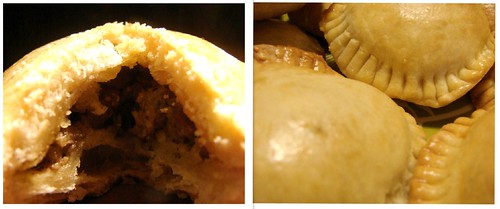
The other bit came from Panamanian empanadas–the meat filling. There’s just something about the seasonings used for our empanadas that is incredibly comforting. You will notice that the filling uses recao verde as a base.

Cafe Pita uses an interesting dough for their burek; one of these days I’ll attempt it. For now, phyllo dough will be the overachiever understudy. And I’ll tell you, it left very little to be desired. Ready? Let’s get to it!

El Burek-o
1-1/2 lbs ground beef
1 large yellow onion
1/2 green bell pepper
1/4 cp each: green onions, parsley and cilantro
2 cloves garlic
2 tsps Jugo Maggi or Worcestershire
1/2 tsp oregano flakes
1 tsp habanero paste or 1 tbsp habanero hot sauce
2 tbsp flour
1-1/2 cps beef broth
Phyllo sheets
Melted butter
Sea salt & ground black pepper
Chop all the aromatics: onion, bell pepper, green onions, parsley, cilantro and garlic. You can do this manually or with a food processor. Heat a large skillet over medium high heat and add the beef, breaking it apart into a crumble. Add the Maggi, oregano and a shake of salt and pepper, continue stirring and crumbling the beef. This process will remove all moisture from the ground beef, make sure to continue to stir to keep it from burning and sticking to the pot.
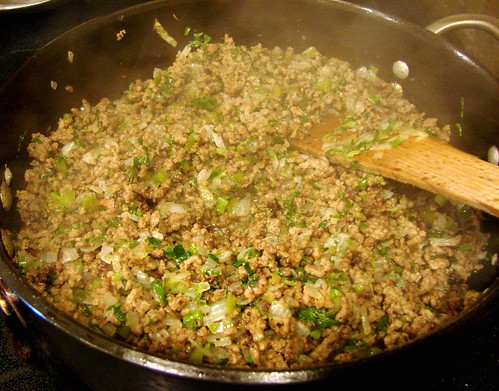
Once the moisture evaporates and all that is left is the fat from the beef, add the chopped recao. Continue stirring until the aromatics soften and the beef begins to brown. Add the habanero paste, once that has been fully incorporated add the flour. Make sure to stir in the flour and cook this for a few minutes to ensure you don’t end up with beef that tastes like flour. Add the broth and adjust the seasoning as necessary. Make sure to scrape all the good bits off the bottom. Allow it to come to a boil, lower the temperature to medium-low, cover and simmer for another 20-30 minutes.
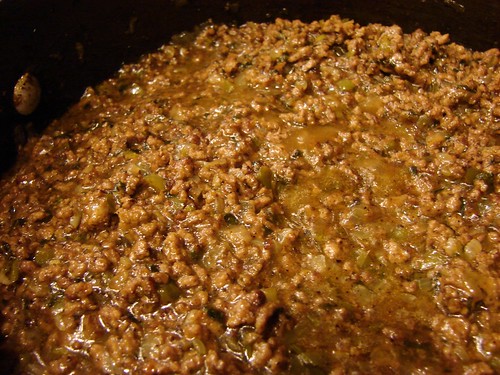
While that cools, prepare the phyllo sheets. Preheat the oven to 400°. Line a baking sheet with silpat or parchment paper and lay the first sheet of phyllo. Brush it with butter, repeat. I laid 3-4 sheets before I started to add the beef filling. Butter in between each sheet. Spread a spoonful of the beef filling, not too much, you’ll be layering this a bit. Try to keep a 1-inch edge that has no filling.
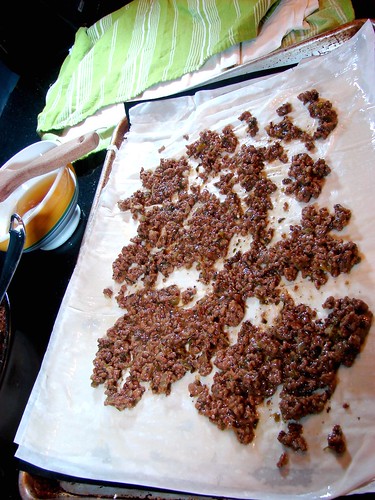
Top with another 3 sheets of phyllo. Repeat. The last layer would be phyllo. Use the silpat/parchment paper to help you fold the sides over, the way you would fold a letter to place in an envelope. Make sure to butter each fold.
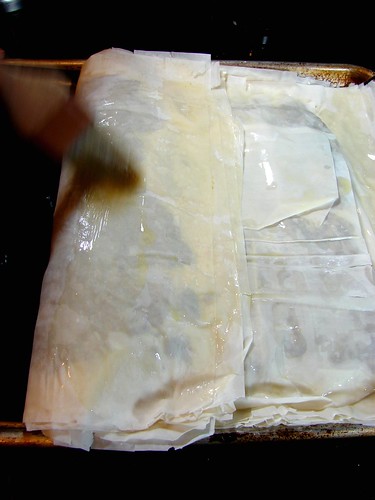
Flip it so the seam is at the bottom. Brush the top with butter, sprinkle with salt, pepper and smoked paprika.
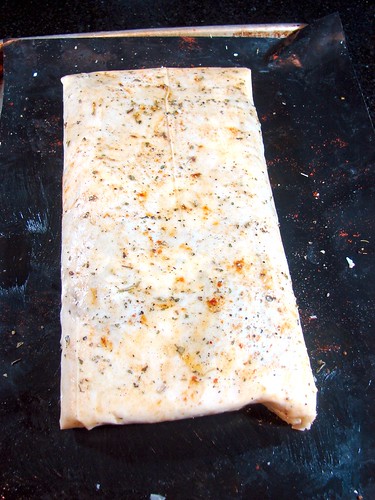
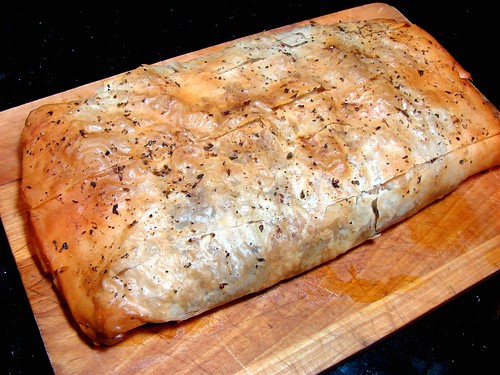
Bake for 20 to 30 minutes, depending on your oven. Once it is golden brown and looks flaky, remove it from the oven. Allow it to cool for at least 10 minutes before slicing. That’s it!
I did make a bit of a dipping sauce by combining 1 part mayo to 2 parts crema fresca or sour cream and a bit of habanero hot sauce.
Cookingly yours,
Anamaris
I know. Not a novel combination, but sure it is a winning one! This is a pretty universal dish, I guess. I can’t claim as Latin cuisine, but it is something I grew up eating. My mom would often make this and add beaten eggs just before they were done. The result was a sorta scrambled Spanish tortilla.
This is another no-recipe side dish, just an idea to think of next time you’re serving potatoes.
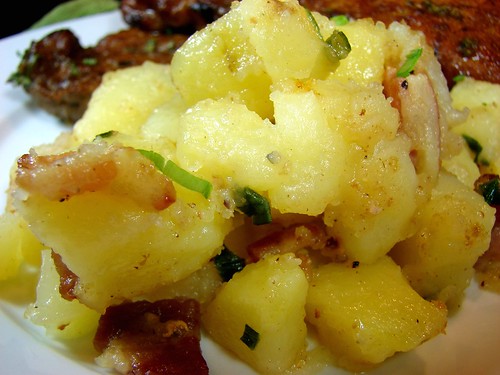
Bacon Potatoes
Potatoes, peeled & cubed
Bacon, chopped
Green onions, chopped
Butter (optional)
Sea salt
Freshly ground black pepper
After cubing the peeled potatoes, toss them in a pot filled with cool water and salted. Bring them to a boil and cook until tender, but not completely soft–they will finish cooking later. Drain the water and set the potatoes aside.
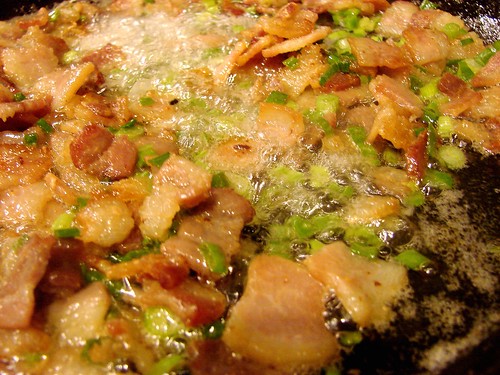
While the potatoes boil, heat a skillet (large enough to hold the potatoes) and render the fat from the bacon. Cook the bacon until it begins to turn golden but before it is completely crisp. Add the green onions and stir to make sure they don’t brown too much.
Add the potatoes to the bacon & onion mixture, tossing the potatoes to coat in the bacon fat. If the potatoes seem too dry, add a bit of butter to fully coat them. Season with salt & pepper and serve!
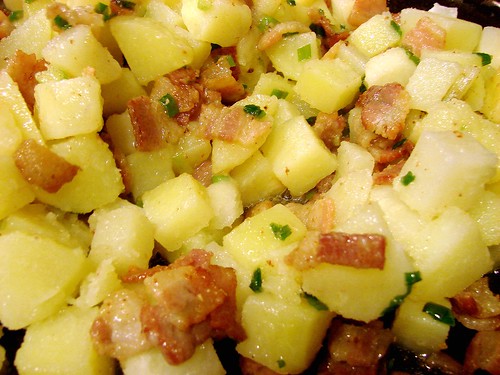
The Hubbz and BBoy, being men and lovers of excess, decided that these were just a step away from being baked potatoes. So they topped them with crema fresca (creme fraiche or you could use sour cream) and shredded cheese. And you know what? They DID taste just like a baked potato and it was soooo good! Also, any leftovers are awesome for tacos, whether you add eggs or beans or neither. YUM!
Cookingly yours,
Anamaris
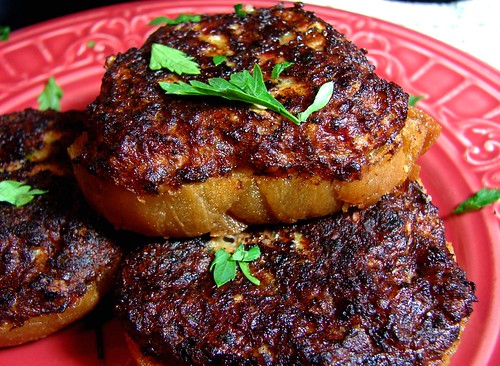
A few months ago I tried my hand at these yummy shrimp toasts, they turned out delicious. A few days ago I had some leftover shrimp and bread, so I thought I’d make them again. This time I went for a Latin twist, as promised. There are a couple of things I should point out about the ingredients.
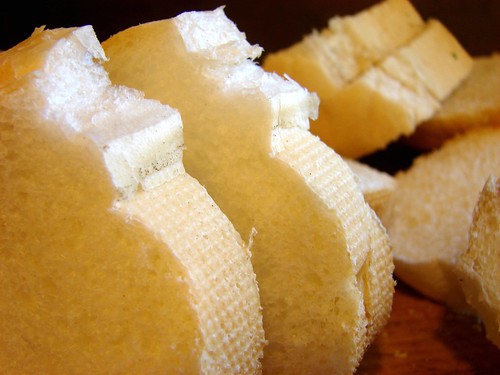
Bread last time I used sliced white bread, crusts removed and cut into triangles. This time I had a few bolillos (French rolls) laying about, so I just sliced those into rounds and called it a day. Also, it is best to have day old bread.
Recao: In Panama, you can go to the little corner store and ask the store keeper for as much recao as you need, it is usually sold in 25 cents increments. I know. Crazy. Anyway, to us, Panamanians, recao is a combination of aromatics used as the base for most dishes we cook. These aromatics will be diced, sliced, chopped or pureed depending on your recipe needs.
Recao verde has garlic, onion, green bell pepper, parsley, green onions and culantro.

Then there’s recao rojo, which consists of onion, garlic, red bell pepper, culantro and tomato. This is the one used for this recipe.
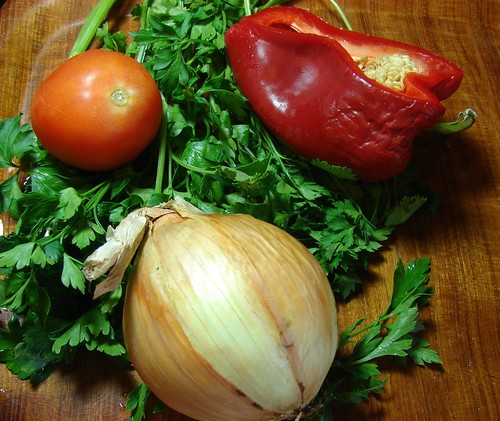
Shrimp Tostadas
3/4 cp shrimp, peeled & deveined
1/2 cp onion
1/4 cp red bell pepper
2 tbsp each cilantro and parsley
1 clove garlic, minced
2 tsp hot sauce (preferably habanero based)
2 tbsp butter, softened
2 egg whites
2 tbsp cornstarch
12-15 bread slices
Oil for frying
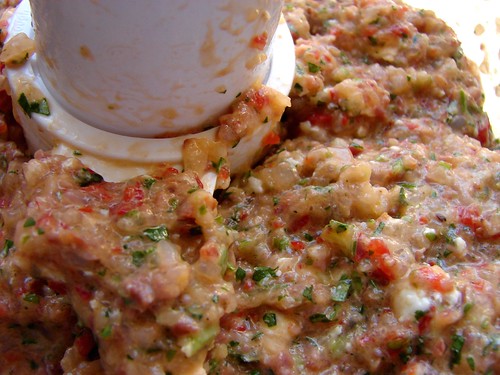
Place all the aromatics into a food processor and chop until fine. Then add the shrimp and pulse until the shrimp is pretty fine. Change the blade to a dough hook or transfer to a mixing bowl and add the hot sauce, eggs, cornstarch and butter. Mix well.
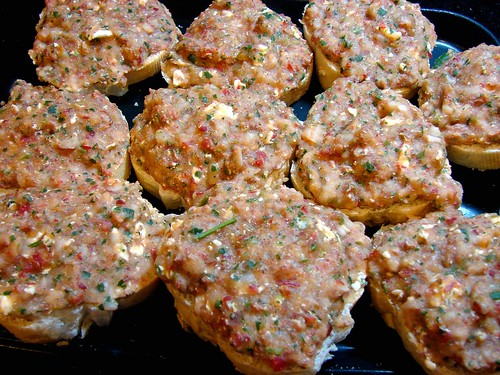
Slice the bread, if necessary, to about 1/4 inch thickness. Top each slice of bread with 1-2 tbsp of the shrimp mixture. Keep them refrigerated until you’re ready to fry them.
Use a medium-sized skillet and add enough oil to come up to about 1-inch and heat over medium heat. You want the oil to be hot enough to sizzle, but make sure it is not too hot or it will brown the outside before cooking the inside.
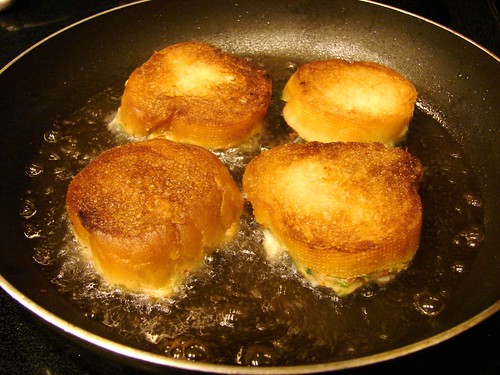
Brown the toast side first. Don’t stray away too far, the bread will brown rather quickly. Flip to the side with the filling and allow it to fry for a few minutes. Remove from the oil and allow it to drain before serving.
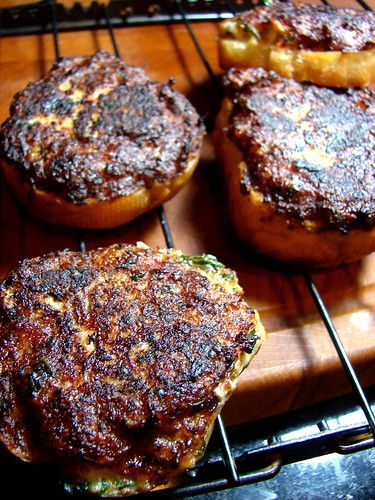
These make for a great snack and freeze well if you don’t want to cook them all at once. Serve warm and enjoy!
Cookingly yours,
Anamaris
OK, we may be off to a bad start. I know I said I was going to focus on Latin-Caribbean cuisine, and I will. Just not this time  Lo siento. I thought about typing the post in Spanish, but then you would either a) have to deal with some unreliable online translation tool, b) think I’d lost my mind and move on or c) not get to enjoy this awesome salad. My hope is that this salad will make up for my transgressions.
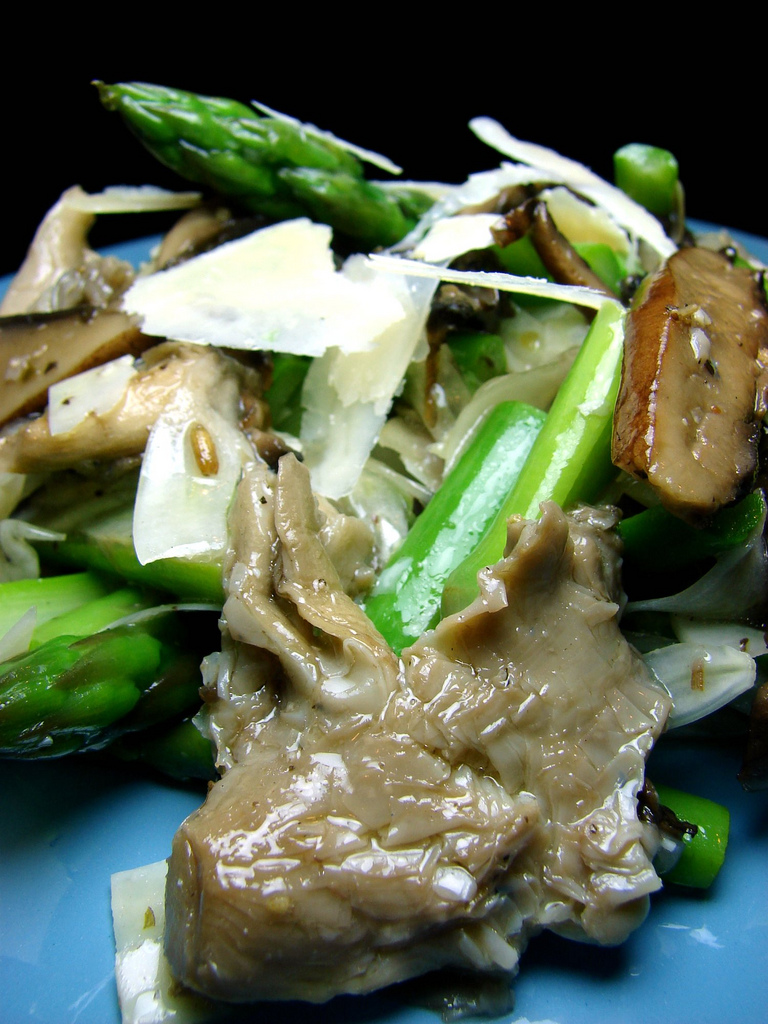
Let me start by saying…, I’m NOT a salad gal. Hey, I’m a Latina, we don’t eat salads. Well, that ‘s not true. We do. I don’t. I try, but I’m usually disinterested. Every now and then I do find a winner. Like Houston’s Cobb Salad. Or the salads at sushi restaurants with that awesome ginger or peanut dressing. But those are not the salads I want to talk to you about. This salad is unusual. It is fresh. It is satisfyingly meaty and meatless. This is a Poached Mushroom and Asparagus Salad.
I’ve been hearing about poaching meats and vegetables in olive oil. It seems to be one of the ‘it’ cooking methods at the posh places these days. Poaching is generally done using a well-flavored broth, sometimes wine, that is kept at a consistently low temperature. The idea is to slowly cook the ingredients without ever bringing them to a boil.
I used a medium-sized skillet and added about 3 cps of extra virgin olive oil. Don’t fret, you will save the oil and reuse it. Because the oil is never very hot, you don’t burn it, which allows you to use it time and again. There really isn’t a recipe here, but here’s what I did.
Poached Mushroom and Asparagus Salad
Wild mushrooms–I used portabella and oyster
3 cps extra virgin olive oil (approx)
Asparagus spears, trimmed
Fresh fennel, julienned
Sea salt
Fresh ground pepper
Your favorite vinaigrette
Parmesan or Manchego slivers
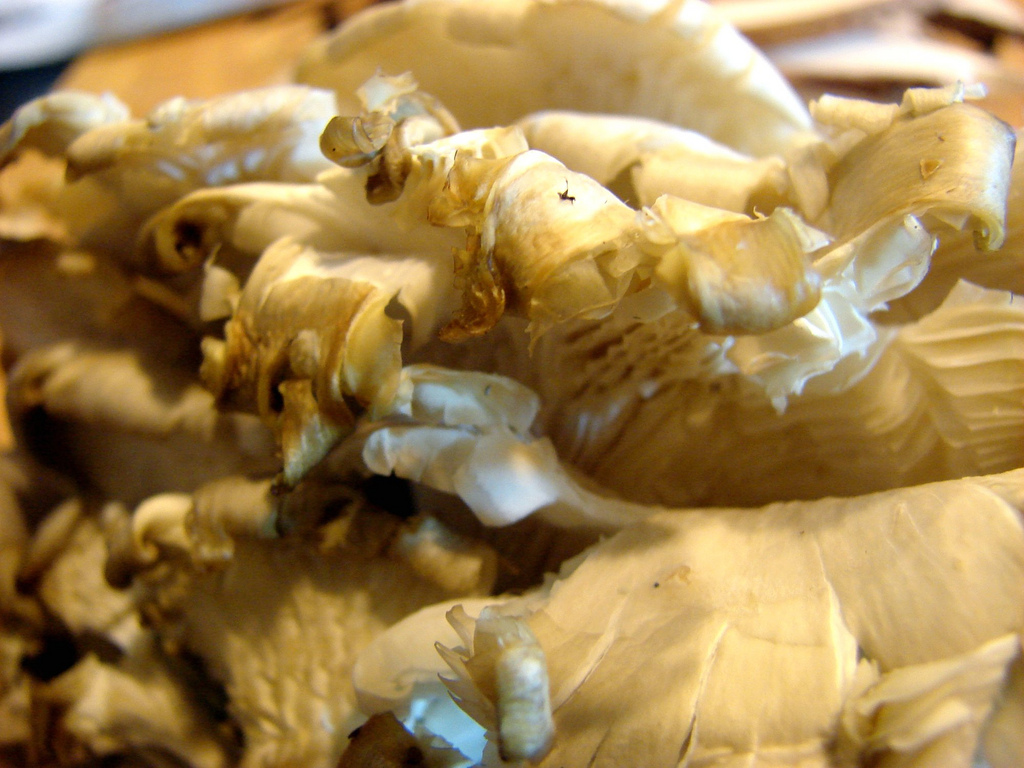
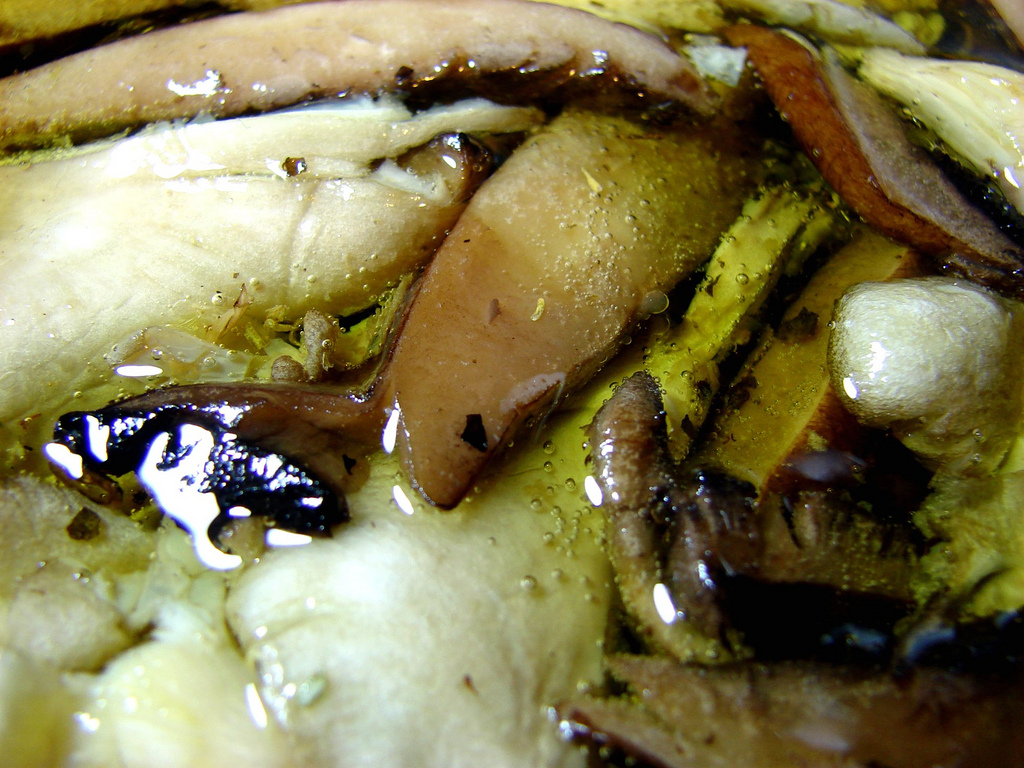
To poach the mushrooms: clean and slice the mushrooms. If you are using portabellas, make sure you remove the brown gills. Otherwise your oil will be dark brown. While you get the mushrooms ready, put the oil in the skillet and turn the heat as low as your stove will go. The oil’s temp should be between 160–185°.
Once the oil comes to temperature, add the mushrooms. It is important that they be completely submerged in the oil. You’ll know the temperature is right if you see little bubbles slowly forming around the mushrooms. Poach the mushrooms for about 15 minutes or until tender. Once the mushrooms have softened, remove them from the oil and drain. Allow them to cool. Meanwhile, prepare the rest of the ingredients.
Blanch the asparagus: bring a pot of water to a boil. Add salt, then drop the asparagus in the boiling water. Allow them to cook for about 3 minutes. Have a bowl of iced water waiting , remove the asparagus and dunk them in the icy water. Allow them to stay in the cold water for at least 3 minutes. Remove and drain.

In a bowl combine the mushrooms, fennel, asparagus and vinaigrette–tossing to coat all ingredients. I used a store-bought white balsamic vinaigrette. Add some of the cheese slivers and toss. Top with more cheese when served.
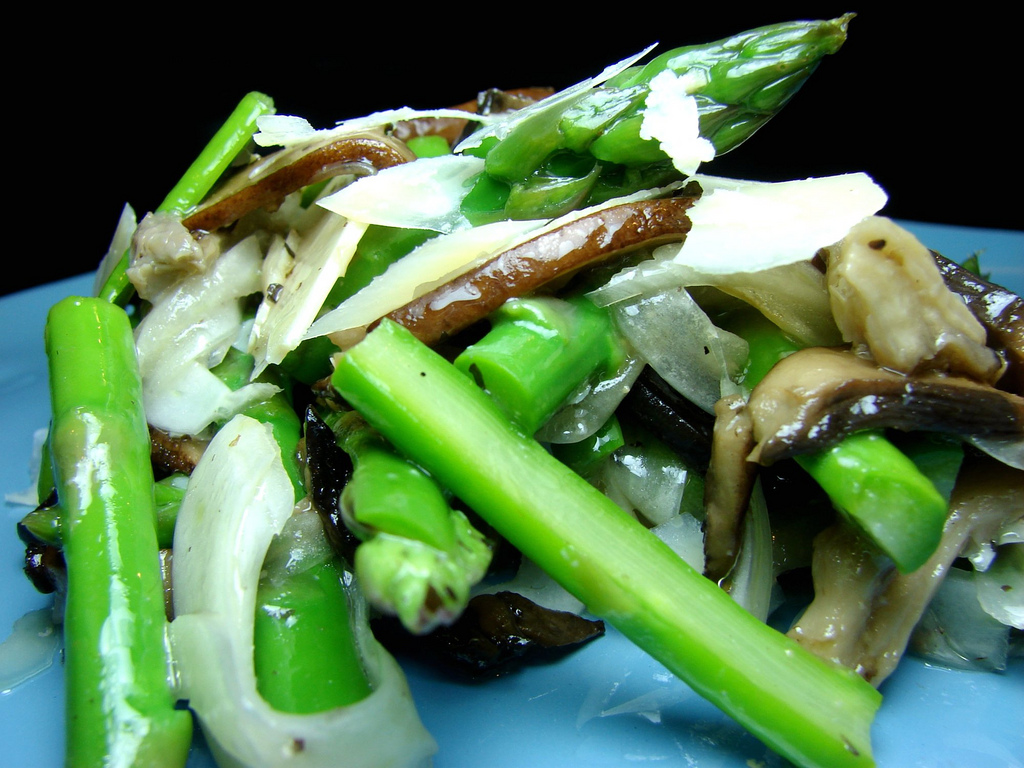
You may think using olive oil as your poaching liquid would result in an extremely oily dish, but it doesn’t. What you end up with is a delicately flavorful bunch of mushrooms. To preserve the oil: If you notice any bits or drippings, allow it to cook longer without the mushrooms. Then strain through a coffee filter and save in a glass or heavy plastic container in your refrigerator. Bring it to room temperature before the next use.
I promise you, you will make this one again. And again. Enjoy!
Cookingly yours,
Anamaris
WOW! I’m all ’15 minutes of fame’ today. I was minding my own business, working on content for a later day when I noticed that my traffic had skyrocketed. I went to my usual referral sites only to realize it wasn’t coming from any of those usual suspects.
Then I checked my stats and WOWZA! I made WordPress‘ highly coveted ‘Fresh Press’ list. All I could think was: Holy smokes, Batman! and I do love me some algorithms, whatever they are!
To those of you visiting for the first time: Hola y bienvenidos a mi casa! To those of you who have regularly welcomed me into your computer screens and, hopefully, kitchens: This is because of you, babes!
As they say, the proof is in the picture. Check out the other blogs on this page, there’s something for everyone.

Don’t be a stranger! There’s a nifty little button on the top right that ensures you don’t miss any of the deliciosa comida featured here.
Cookingly yours,
Anamaris
Oooooh mango-time! The one time I don’t complain about Houston’s increasing temps and humidity is when I find beautiful mangoes at my local grocery store. Even better when they’re in the season and, thus, affordable. Can you say win-win?!!
I can eat mangoes like nobody’s business, but I can’t write a valuable post with that as the subject. So I’ve kept my thinking cap on, trying to find ways to incorporate them into a recipe. That’s how this little treat came to be.
Have you been watching the new Cooking channel? I hope you have. I’m loving it and found a few new chefs that have quickly moved into my DVR’s record list. This recipe comes as the result of adapting a recipe from the show French Food at Home. Laura Calder is a French chef bringing that fancy cuisine into normal people’s homes. On one of her episodes, she made a pumpkin mousse, the perfect platform for a mango coup.
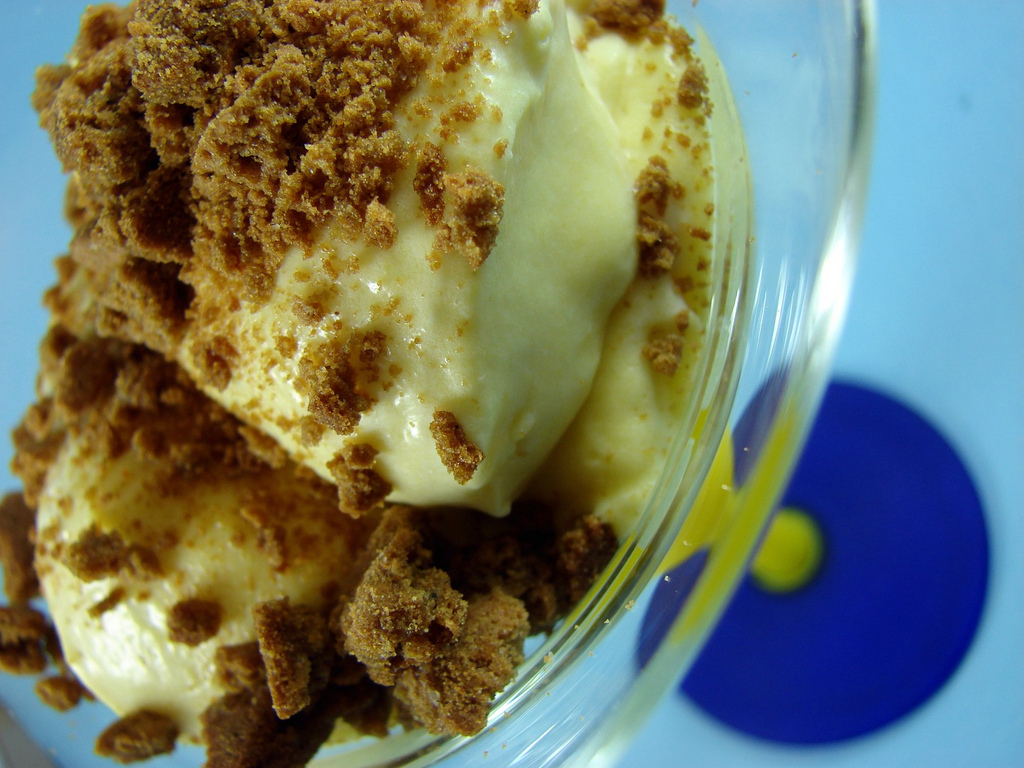
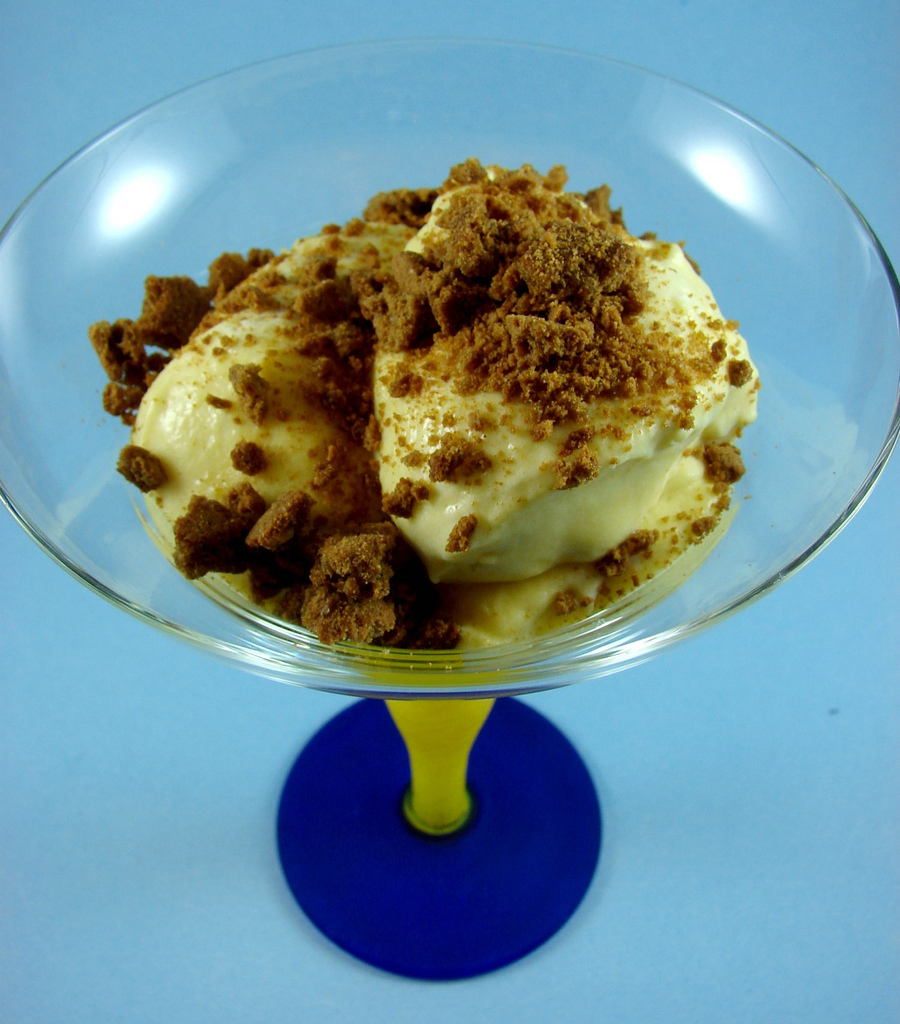
She served it with a chocolate sauce, but not being a chocolate fiend and knowing I would need some texture, I opted for some crumbled ginger snaps. It’s easier too.
Mango Mousse with Gingersnap Crumble
3 cps ripe mango, peeled & chopped
2-inches fresh ginger, peeled (optional)
1 pkt unflavored gelatin
1 tablespoon rum or bourbon (water works too)
2 cps heavy cream
1 tsp vanilla extract
1/4 cp sugar
Gingersnap cookies
First, you will need to turn that mango into puree. Place the mango in a medium saucepan, add the ginger, 2 tbsp sugar and 1/2 cp water. Bring it to a boil over medium high heat, reduce heat to medium and allow it cook down until the mango softens–about 10-15 minutes.
Stir the rum/bourbon and gelatine together in a cup, and let soften 5 minutes. Add a third of the cream and the vanilla to the saucepan with the mango syrup. Stir in the dissolved gelatin and the rest of the sugar to dissolve. Remove the ginger pieces and the mango mixture to cool just a bit before running it through the blender or food processor to puree. You’ll need to strain the puree, mango is very fibrous; set aside to cool and cover tightly with plastic wrap. Refrigerate until chilled and starting to get thick.
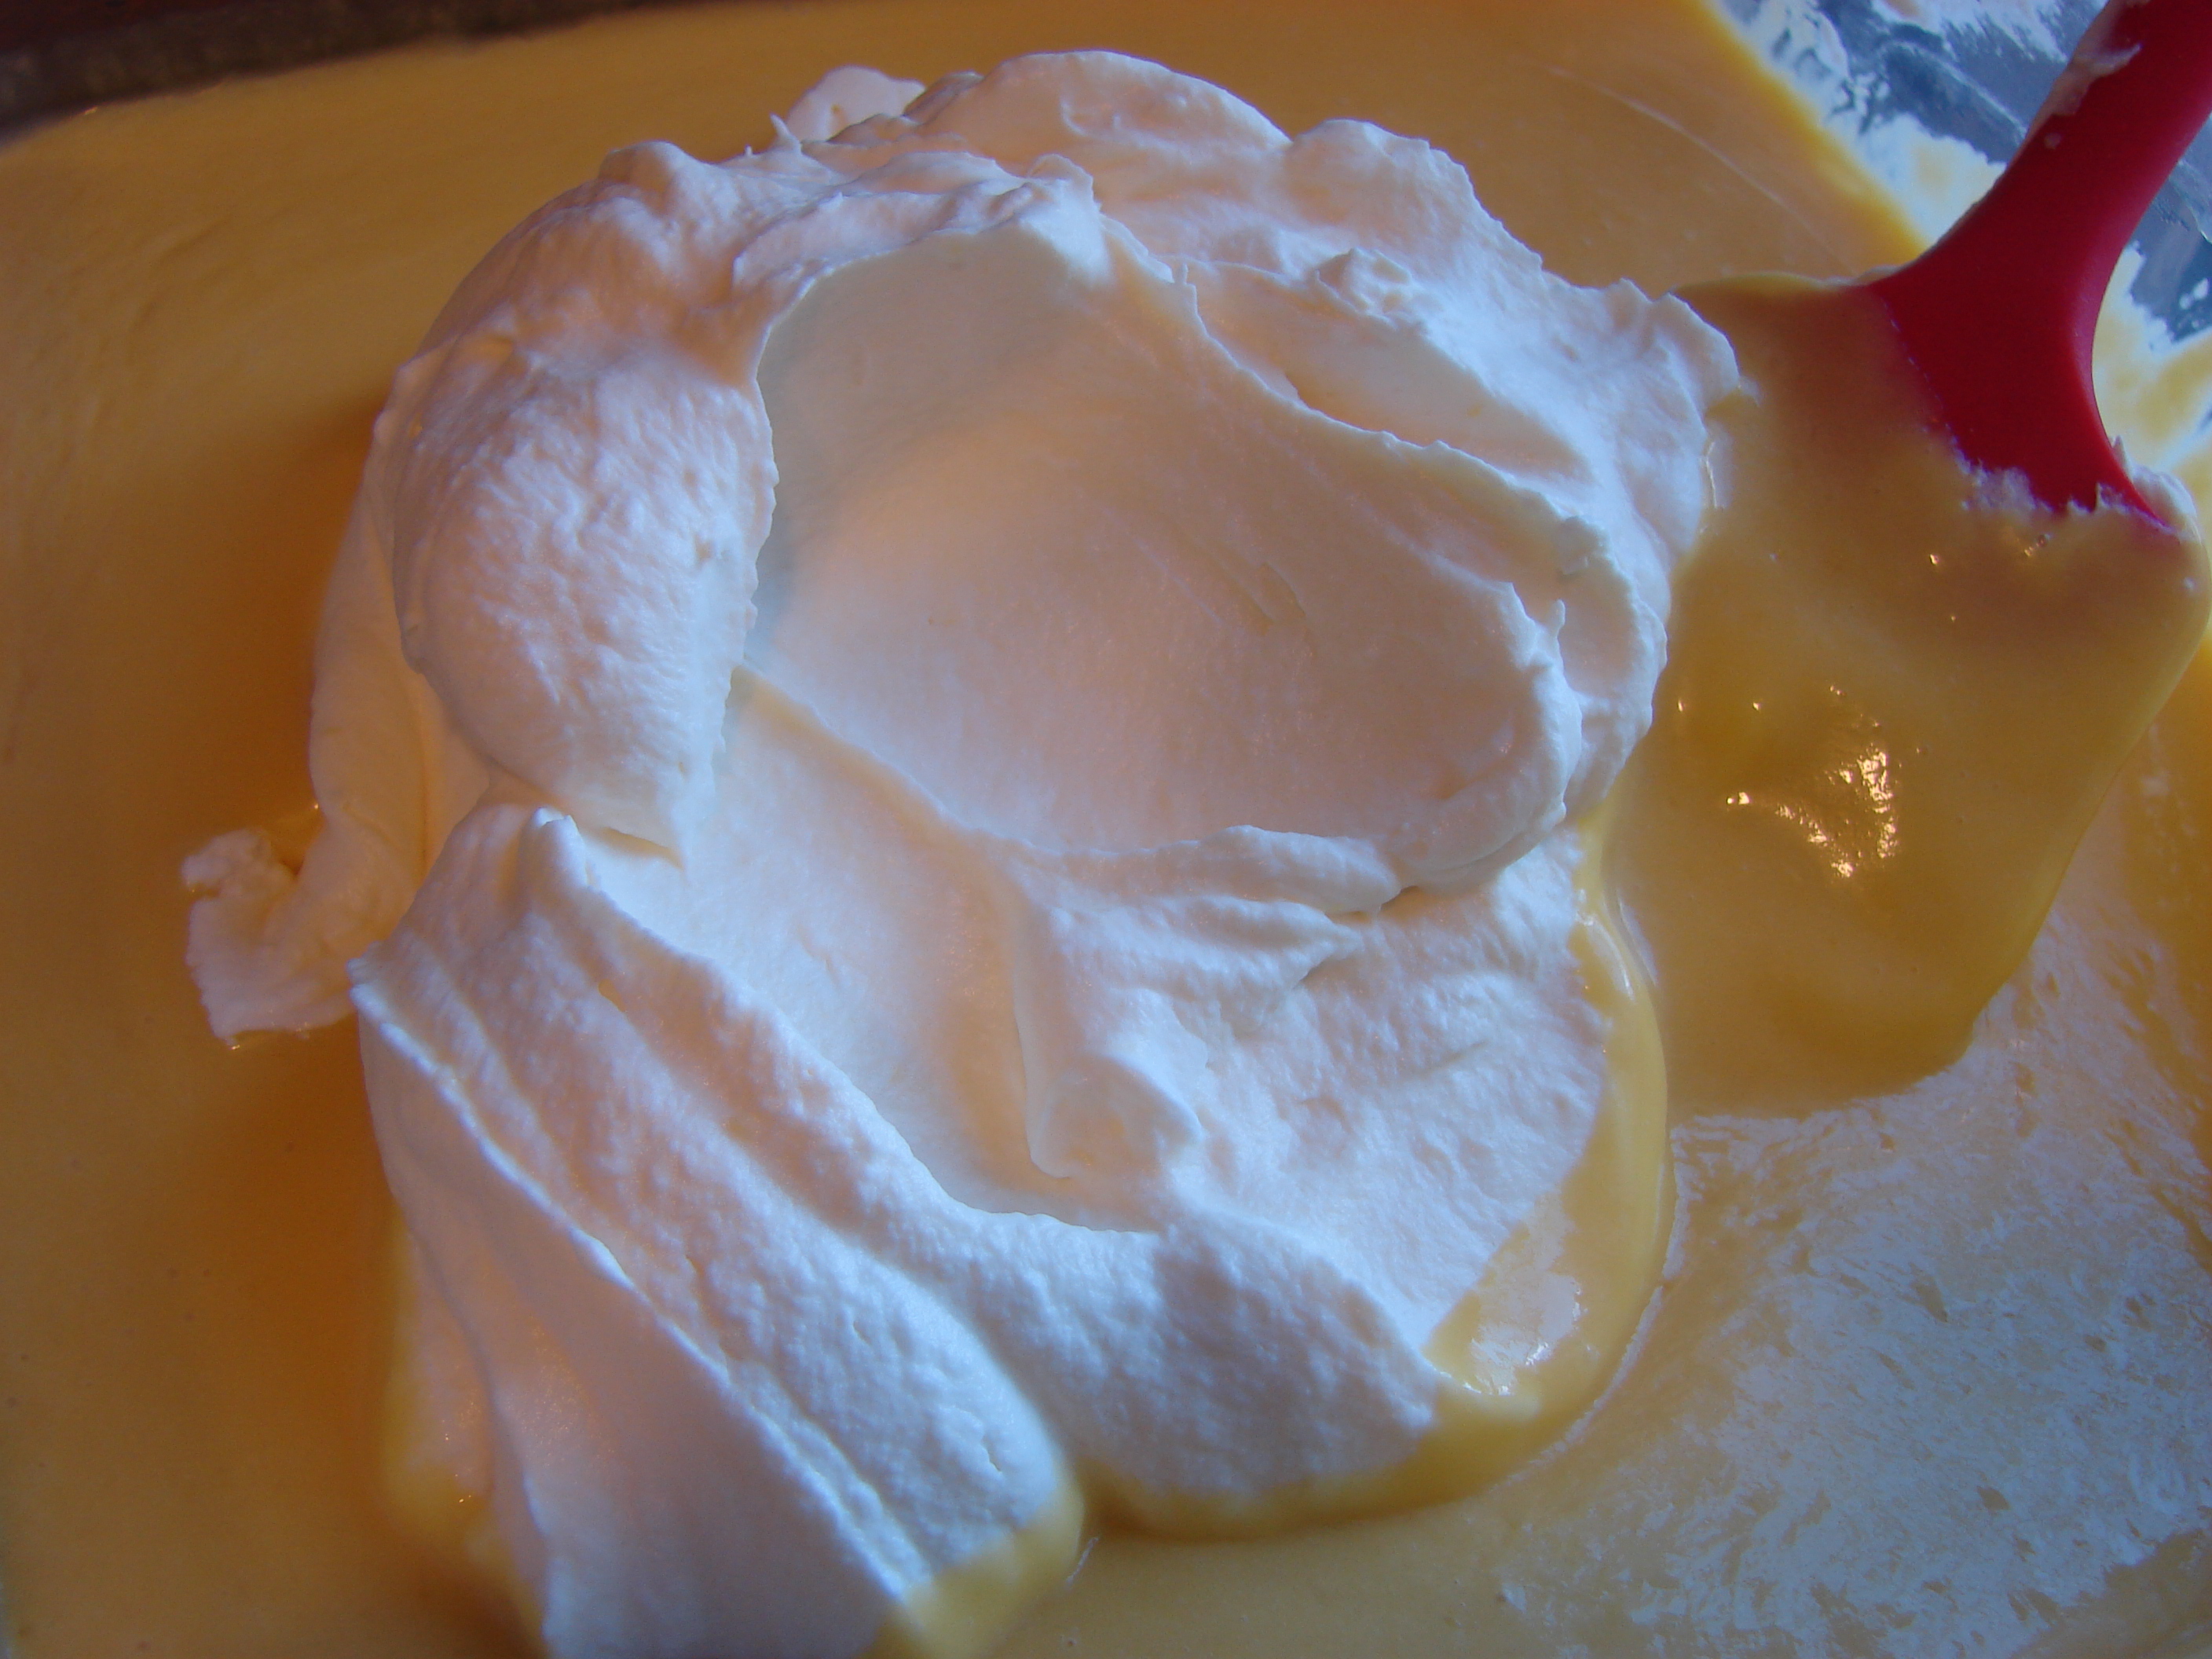
Whip the remaining cream and fold it into the chilled mango mixture. Chill at least 4 hours before serving. Spoon into individual serving dishes or goblets topping with crushed gingersnap cookies.
This was delicious and the crunch from the ginger cookies added a much needed textural dimension. Tell me, how do YOU eat your mangoes?
Cookingly yours,
Anamaris
OK, don’t freak out, this will be a good conversation. I think we’ve reached that point in our relationship when we should meet…, so to speak. We should figure out where things stand, what we’re doing, where we’re going. I mean, we’ve been carrying on for a bit over 6 months now. Yep, I can hardly believe it, our little blog is 6 months old! And, as a girl, I want to make sure you get me, still like me and that we’re clear about our expectations.
When I started this blog, the only thoughts on my mind were to have an outlet for my love of cooking and photography and my desire to share both with you. It’s been a fun and challenging ride, though inconsistent at times. And that’s what I want to talk about.

If, like me, you’re completely addicted to the Next Food Network Star, you know that one of the things the judges keep pressing the contestants on is having an identity. A direction. A message for their audience. When I go through my archives and analyze the posts I have brought to you, I have to admit that I’ve failed you in this respect. There is no clear identity or direction. No clearly defined message or purpose.
That’s about to change. My identity? This one you know. Cien por ciento latina: 100% Latina. My direction? Latin-Caribbean cuisine. I will focus on the flavors I know, the experiences I’ve lived, that’s what I’ll share. My message/purpose? I’m still having a hard time verbalizing that one. I will use some imagery to help it along.
Think back to a meal you had on a visit to Latin America or to a nice Latin restaurant, maybe you’ve never been there before. You read through a menu and every dish described sounded more delicious than the other, even when you didn’t know what some of the ingredients were. Then remember what you saw, smelled, thought when the waiter placed the dish before you. It was a culinary feast to your senses. It was beautifully presented. The scents were intoxicating and slightly foreign. And when you took the first bite you knew you weren’t going to be able to help yourself. Halfway through the dish you came to the sad realization that, as enjoyable as this meal had been, it was beyond your culinary ability, the dish was intimidating enough not to attempt it in your own kitchen.
Well, I can take you there again. I can help you make it right in your kitchen. I’m here to tell you that the dish you drooled over is only a point, click and a webpage away from your dinner table. I will help you navigate exotic Latin ingredients and you will be as versed and comfortable with them as I am. I know these ingredients, I understand the culture and I want you to enjoy it as much as I do. So, open that pantry. Pull out those pots and pans and let’s get cooking!
That’s the what, now for the when. I started posting on a daily basis, almost compulsively, but as of late, my posting has been quite erratic. Concerns about my family have kept me from the kitchen and this blog. Truth is, blogging has become more than just entertainment or a hobby. It’s therapeutic. From the planning to the execution and presentation, it all brings me a great deal of enjoyment.
My promise to you and myself–to us, is to provide you good content 3 times a week. You can count on a new post every Monday, Wednesday and Friday. There may be more, but not less than that.
See? That wasn’t so bad. Think we should go steady?
Cookingly yours,
Anamaris
Getting flowers is always wonderful. The pretty colors. The scents. The feeling you get every time you take a peek at them. Birthday flowers. Anniversary flowers. I’m sorry flowers. They’re all wonderful, but Just Because flowers are my favorite.

The Hubbz, MY Hubbz, came home with huge bunches of flowers.

Roses. Lilies. Rhododendrons. All in the most beautiful shades of orange. Gorgeous! That’s why I love that man.

I’ve been dealing with some of life’s difficulties. Unwelcomed realities. Harsh ones. My mom’s health is deteriorating, it’s been tough. Please send some positive thoughts her way.

Oh, by the way, I keep forgetting to introduce you to the newest addition to the Price household. Meet Mocha.

Mocha Java to The Hubbz.

Mocha Loca to me. Isn’t she sweet?!

Speak of the devil; she’s giving me the hungry look. Gotta go.
Woof woofly yours,
Anamaris
Just before we get into that business, why is it called a pineapple? It looks nothing like an apple, thought I guess it is pokey like a pine cone… OK, that’s over, back to the fruit at hand.
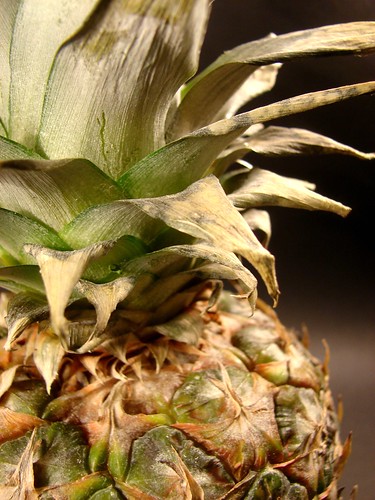
With Summer heating things up, the grocers and markets are filled with delicious fruits, particularly those from more tropical climates. Pineapple happens to be one of my favorite fruits. Love, love, love IT! Love it! Believe me, once you’ve had a taste of fresh pineapple, you’ll snicker at the canned stuff. I want to make sure you eat as many of these fresh babies as possible, so I’ll give you some pointers to help you break it down.
Picking Pineapples: Put your senses to work.
See: It should be a bright yellow, maybe a bit of green here and there. As with any other fruit, make sure there are no visible blemishes–brown or black spots. If you can only find them with very green peel, then take it home and allow the sugars to mature over a few days.
Touch: It should be firm to the touch, but not hard. It should give a little
Smell: Go ahead, put your nose to it. Pay special attention to the bottom, it’ll be the most fragrant area. It should smell sweet with a hint of tartness.
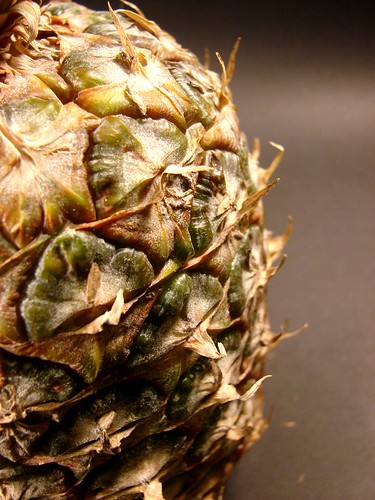
Pineapples can be prickly, if you have sensitive hands, you may want to use something to protect them. Now for the fun part, this is how we breakdown a pineapple in Panama.
Remove both ends. You can break off the leafy top or just use a knife to cut about 1/2-inch off the top and bottom of the pineapple. This serves 2 purposes: it will stabilize the fruit and make it easier when removing the peel with a knife.

Stand the pineapple on one end (use a cutting board) and with the knife, begin cutting off the peel of the pineapple. Move in a downward motion, always away from you. Give it a clockwise turn and repeat until you have removed all of the peel.
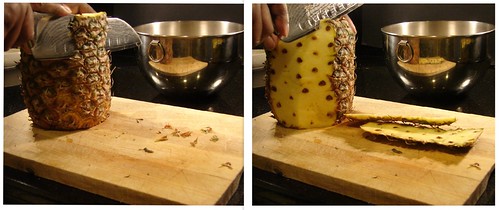
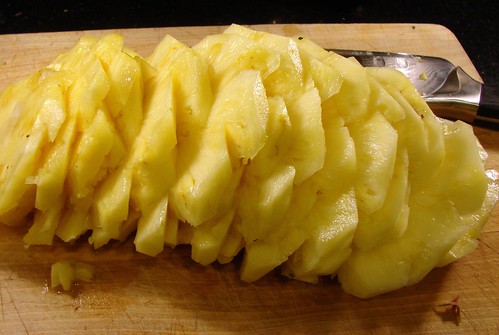
Remove the eyes. Cut the flesh in a shallow diagonal cuts on either sides of each row–you’ll probably be able to cut across 3-4 at a time. Remove the cut outs and repeat.

The pineapple will end up looking like a spiral. Kinda cool!

Now it is ready to slice and eat. One last thing, though. You want to make sure not to eat the core, it tends to be tough and it has an enzyme that causes your tongue to feel stiff and weird. It makes my lips feel itchy. Just stay clear of it.
Eating fresh chunks of pineapple is great, but check out this cocktail. That’s what I’m talking about!
Cookingly yours,
Anamaris
Fresh pineapples rock. They’re delicious, satisfying, refreshing and good for you. They’re pretty too! They make for a healthy snack, but that’s not the only way The Hubbz and I enjoy our pineapple(s). Sometimes we make a few drinks.
We had lots of fresh fruit juices on our trip to Panama, we also had lots of cocktails made with Seco and fresh fruit juices. Seco Herrerano is one of the liquors made in Panama. It is distilled from sugar cane, has a faint sweetness but is overall tasteless, much like vodka. Incidentally, you probably can’t find it outside of Panama, vodka or light rum would be a perfect substitute.
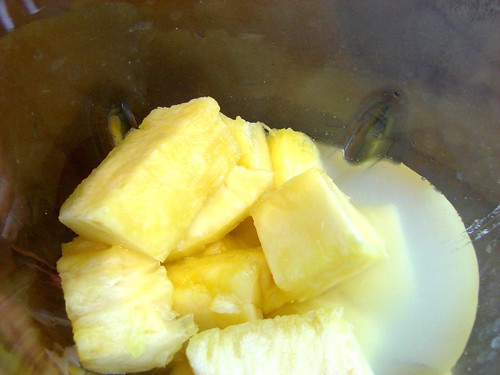
Seco is usually served with fresh fruit juices, my favorites being passion fruit and pineapple. The Hubbz was sold with the very first one we had upon arriving in Panama. Fresh passion fruit that was slightly frothy, almost like a smoothie. But it wasn’t until we made it to Bocas del Toro and saw the bartender mixing our drinks that we realized what was going on. She took the peel off the pineapple, removed the core and dumped the meat into a juicer. Then poured it into ice-filled glasses and topped it, quite generously, with Seco. OH.MY.
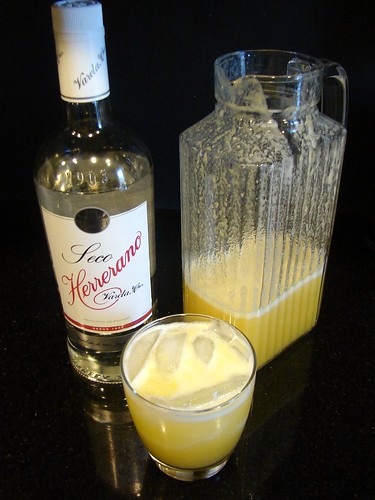
I don’t have a juicer, but a blender works just as well. No need for a formula here. Glass. Ice. Light liquor. Juice. Stir. Drink. Repeat (the most important step). I really think I just wanted to brag about Seco Herrerano. 
Gulp, gulp,
Anamaris


